Introduction & My Personal Story
Ah, hummus. Every time I whip up a batch, I’m transported back to my childhood kitchen, where the comforting aroma of garlic and tahini would dance through the air. My mother, a culinary genius in her own right, would often prepare this creamy delight as a snack for our bustling family gatherings. It was her go-to dish, not only because of its simplicity but because it brought everyone together around the kitchen table, each of us dipping our pita bread or crunchy veggies into the communal bowl. In my 5 years of experience as a chef and food blogger, I’ve come to realize that this humble dish is much more than a simple snack—it’s a bridge that connects people through taste and tradition. Whether you’re a seasoned cook or a kitchen novice, this 5-minute homemade hummus recipe is a testament to the fact that great food doesn’t have to be complicated. Let’s dive into how you can bring this delicious and versatile dish into your own home.
Why You’ll Love This Recipe
- Ready in just 5 minutes, perfect for busy schedules.
- Rich in protein and fiber, making it a nutritious snack.
- Versatile base that can be customized with various flavors.
- Uses simple pantry ingredients you likely already have.
- Vegan and gluten-free, catering to a wide range of dietary needs.
Detailed Ingredients
To make this delicious homemade hummus, gather the following ingredients:
- 1 can (15 oz) of chickpeas (also known as garbanzo beans). Look for ones without added preservatives for the best flavor.
- 2 tablespoons of olive oil. Extra virgin is preferred for its robust flavor.
- ¼ cup of lemon juice, freshly squeezed for a bright, tangy kick.
- ¼ cup of tahini. Opt for a smooth, high-quality brand to avoid a bitter taste.
- 1 clove of garlic, peeled. Fresh garlic is key for that spicy undertone.
- ½ teaspoon of salt. Adjust according to taste.
- ¼ teaspoon of cumin. Adds a warm, earthy depth to the hummus.
- Optional: A splash of water to adjust consistency.
Step-by-Step Instructions
Step 1: Start by draining and rinsing the can of **chickpeas**. This removes excess sodium and helps to achieve that smooth texture in your hummus. Chef’s Tip: For an extra creamy texture, you can peel the skins off the chickpeas, although it’s not necessary if you’re short on time.
Step 2: In a food processor, combine the drained **chickpeas**, **olive oil**, **lemon juice**, **tahini**, **garlic**, **salt**, and **cumin**. Pulse the mixture for about 30 seconds to start breaking everything down.
Step 3: Scrape down the sides of the food processor and continue to pulse until the mixture is smooth and creamy. This should take about 1-2 minutes. If the hummus is too thick, add a splash of water or more **olive oil** and pulse again until you reach your desired consistency.
Step 4: Taste the hummus and adjust the seasoning as needed. You might want to add more **salt**, **lemon**, or **garlic** depending on your preference.
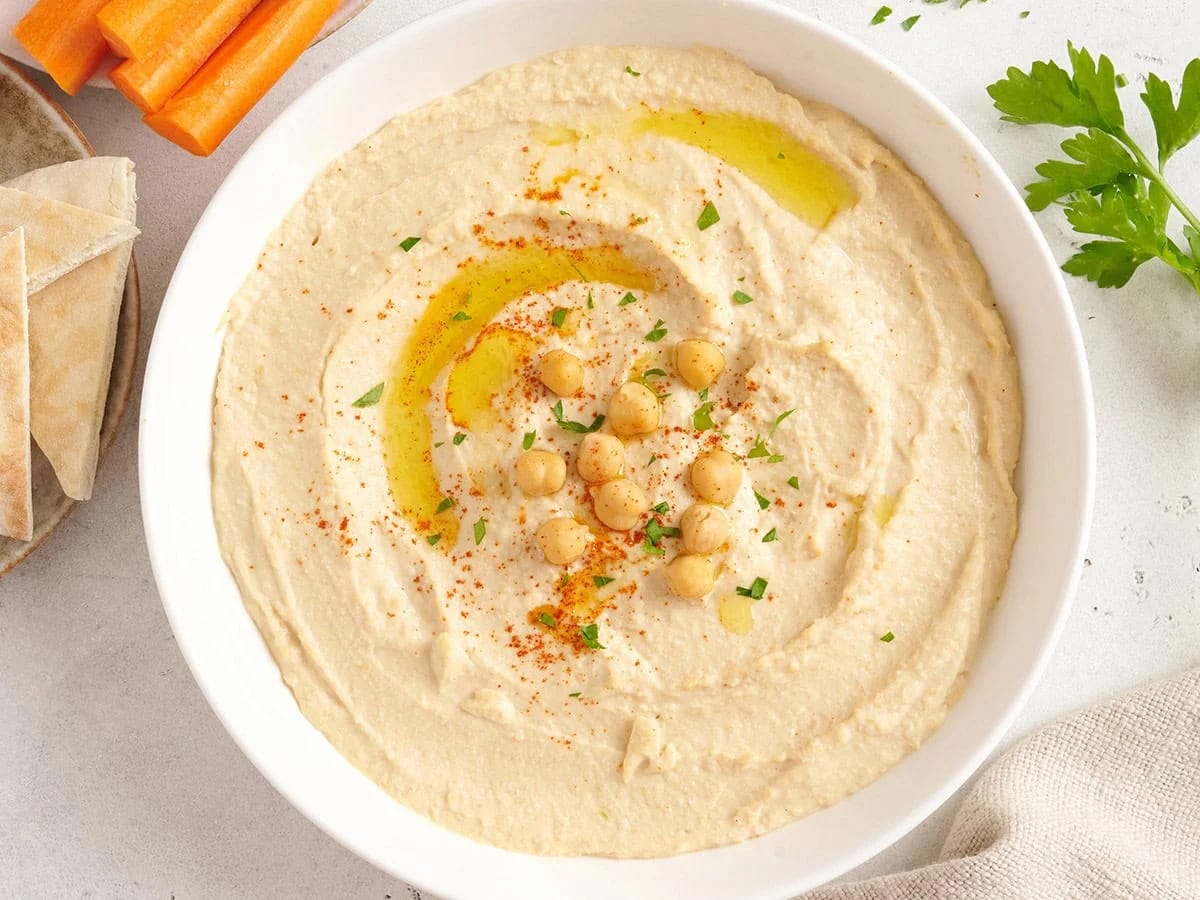
Step 5: Serve immediately with pita bread, fresh vegetables, or as a spread for sandwiches. Feel free to customize with flavor variations like roasted red pepper or sun-dried tomato for a unique twist.
Common Mistakes to Avoid
- **Using canned chickpeas without rinsing:** This can lead to an overly salty hummus.
- **Over-processing the mixture:** This can make the hummus too fluffy rather than creamy. Pulse until just smooth.
- **Skipping the tahini:** Tahini is essential for that authentic hummus flavor. Don’t skip it!
- **Not tasting as you go:** Always taste and adjust seasonings before serving.
How to Store & Reheat
Store your homemade hummus in an airtight container in the refrigerator. It will keep well for up to 5 days. If the hummus separates over time, just give it a good stir before serving. While hummus is best enjoyed fresh, if you need to reheat it, gently warm it in the microwave for 30 seconds, stirring halfway through. However, it’s typically served cold or at room temperature.
Ingredient Substitutions
- If you’re out of **tahini**, try using almond butter or sunflower seed butter for a nutty flavor.
- No **lemon juice**? Lime juice can work in a pinch, though it will alter the flavor slightly.
- To make it oil-free, replace **olive oil** with a bit of aquafaba (the liquid from the chickpea can) or water.
Nutrition Facts
Here’s a quick look at the nutrition profile for a serving size of 2 tablespoons:
- Calories: 166 kcal
- Protein: 5 grams
- Fat: 13 grams
- Carbs: 9 grams
- Serving Size: 2 tablespoons
Frequently Asked Questions
Q1: Can I use dried chickpeas instead of canned?
A1: Absolutely! Just be sure to soak and cook them thoroughly before using. It does add extra time but can enhance the flavor.
Q2: Is it possible to make hummus without a food processor?
A2: Yes, you can use a blender, though it may require more liquid to achieve the same smoothness. Alternatively, mash with a fork for a chunkier texture.
Q3: How can I make the hummus spicier?
A3: Add a pinch of cayenne pepper or a few dashes of hot sauce to the mixture before processing.
Q4: What are some serving suggestions for hummus?
A4: Serve with pita bread, fresh veggies, or use as a spread in wraps and sandwiches.
Q5: Can I freeze hummus?
A5: Yes, hummus freezes well. Store in an airtight container and freeze for up to 4 months. Thaw in the fridge before serving.
Leave a Reply