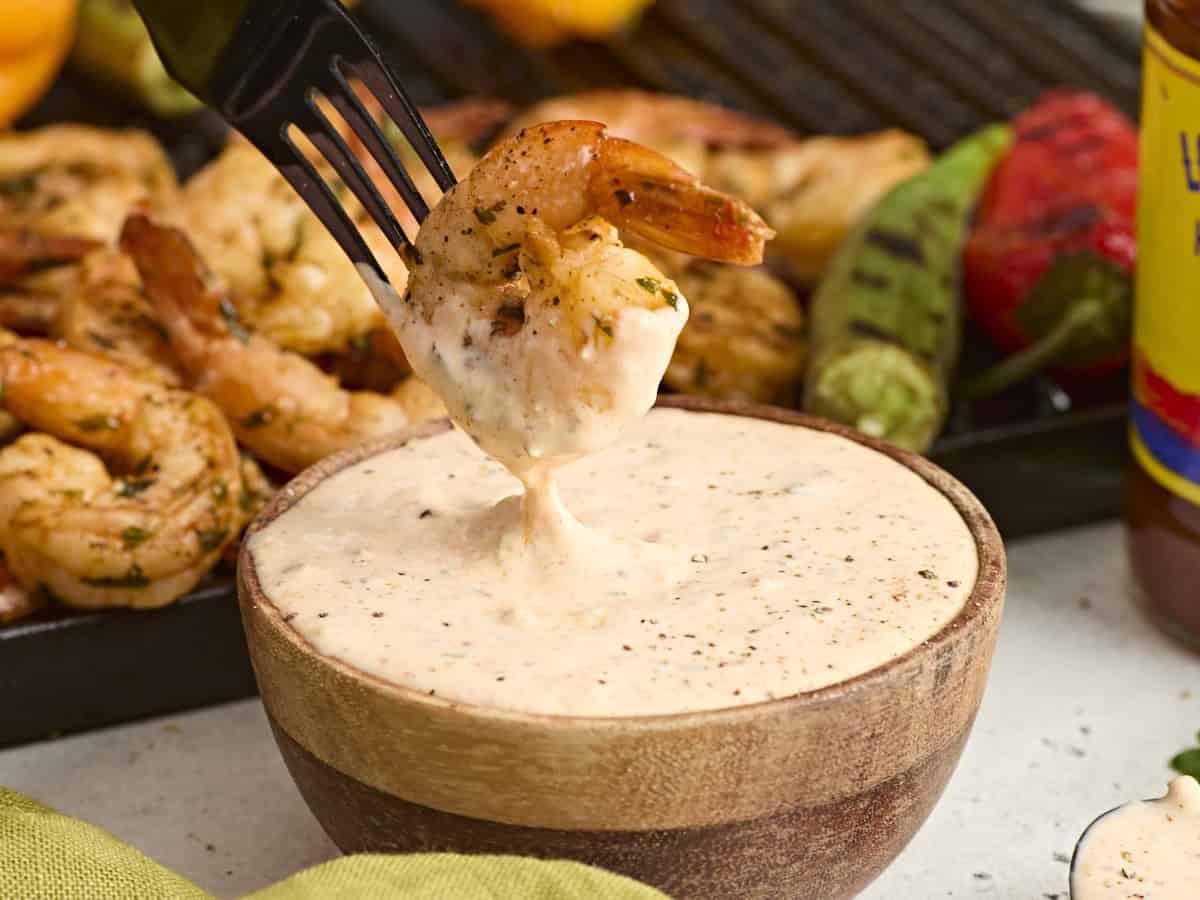
Introduction & My Personal Story
There’s something magical about a sauce that can elevate a dish and bring people together. My journey with this Zesty Homemade Cocktail Sauce dates back to a summer when I was just starting out in my culinary career. It was my first big family gathering after I took the leap into the world of cooking. I was tasked with preparing shrimp cocktail for a party of twenty, and I knew the real star would be the sauce. I remember standing in the kitchen, surrounded by the hustle and bustle of family chatter, as I meticulously mixed ingredients, tasting and adjusting until it was just right. The first bite was a revelation—a perfect balance of tangy, spicy, and savory. It was a hit, and from that moment, I knew I had a secret weapon in my culinary arsenal. In my 5 years of experience, I’ve learned that sometimes the simplest recipes, like this cocktail sauce, can make the biggest impact. It’s a quick, no-cook solution for any party or quick snack, and it’s been a staple in my kitchen ever since.
Why You’ll Love This Recipe
- Quick and Easy: Ready in under 5 minutes with zero cooking required.
- Minimal Ingredients: Only 7 pantry staples needed.
- Customizable: Adjust the heat and tang to your liking.
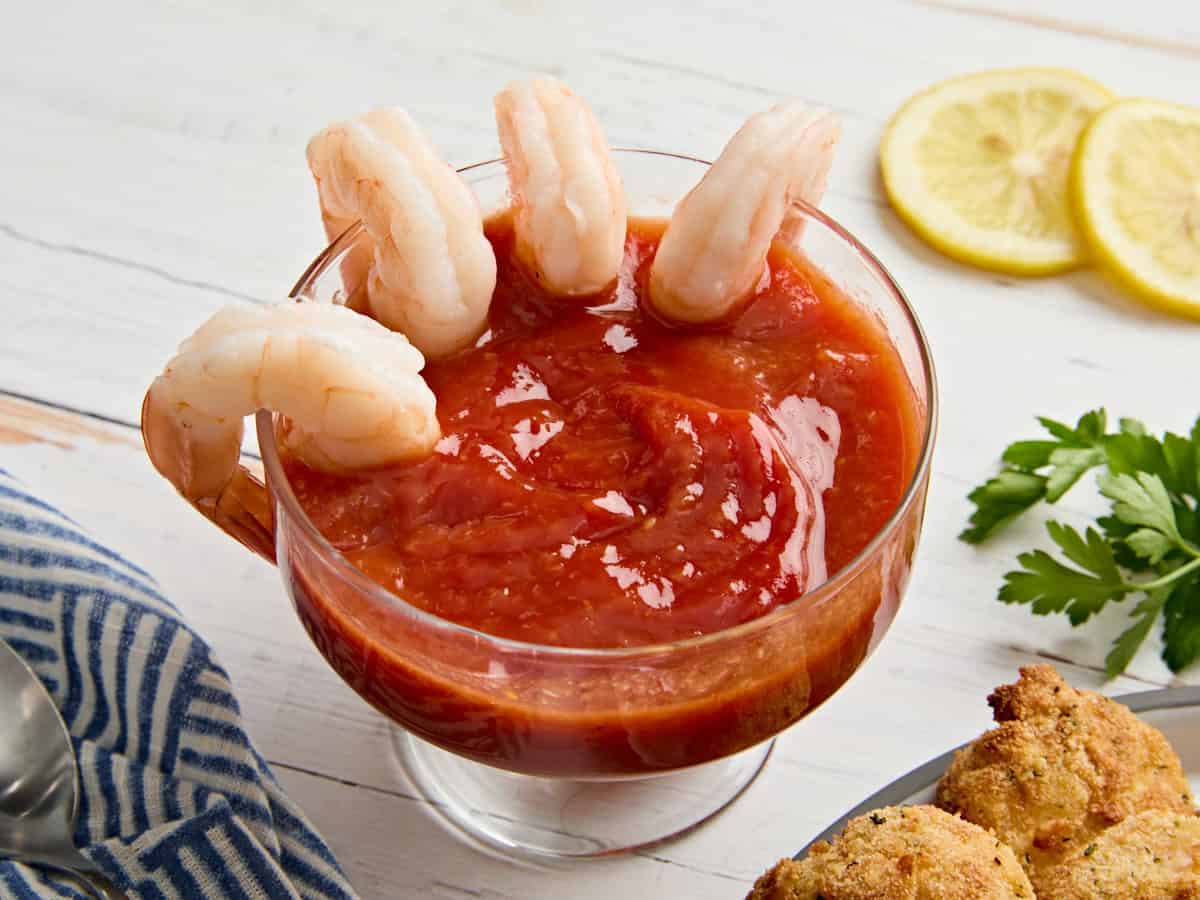
- Versatile: Perfect for shrimp, oysters, fries, and more.
- Party Favorite: A guaranteed hit at any gathering.
Detailed Ingredients
- ½ cup ketchup: Look for a brand with natural ingredients for the best base flavor.
- 2 tbsp prepared horseradish: Fresh and pungent, this adds the signature kick.
- Juice of ½ lemon: Freshly squeezed for that bright, zesty flavor.
- ½ tbsp Worcestershire sauce: Adds depth and umami.
- ¼ tsp hot sauce: Choose your favorite brand to control the heat level.
- ⅛ tsp salt: Enhances all the flavors.
- ⅛ tsp black pepper: Freshly ground for a subtle spice.
Step-by-Step Instructions
Step 1: Gather Your Ingredients
Before you start, ensure all your ingredients are measured and ready. This makes the process smooth and stress-free, which is ideal when you’re in a rush. Chef’s Tip: Use fresh lemon juice for the best flavor burst.
Step 2: Combine the Ingredients
In a medium-sized mixing bowl, add the ½ cup ketchup, 2 tbsp prepared horseradish, and the juice of ½ lemon. Stir gently with a spoon until the mixture is smooth and the ketchup and horseradish are well blended.
Step 3: Add the Flavor Boosters
Pour in the ½ tbsp Worcestershire sauce and ¼ tsp hot sauce. These two ingredients will add depth and a slight heat to your sauce. Mix thoroughly until everything is well incorporated.
Step 4: Season to Perfection
Finally, sprinkle in ⅛ tsp salt and ⅛ tsp black pepper. Stir again, ensuring that the seasoning is evenly distributed. Taste and adjust any flavors if necessary. Chef’s Tip: Let it sit for a few minutes to allow the flavors to meld.
Step 5: Serve or Store
Your cocktail sauce is now ready to enjoy! Serve it immediately with your favorite seafood or store it in an airtight container in the refrigerator for later use. It’s best consumed within a week for optimal freshness.
Common Mistakes to Avoid
- Overpowering Heat: Be cautious with the hot sauce. Start with a small amount and adjust to taste.
- Skipping Fresh Lemon Juice: Bottled lemon juice lacks the vibrant flavor of fresh. Always opt for fresh.
- Not Mixing Well: Ensure all ingredients are thoroughly combined to avoid uneven flavor distribution.
How to Store & Reheat
Store your cocktail sauce in an airtight container in the refrigerator. It will keep for up to one week. If you find the sauce has thickened after refrigeration, let it sit at room temperature for a few minutes and stir before serving. This sauce is not suitable for freezing as it can alter the texture and flavor.
Ingredient Substitutions
- Ketchup: Substitute with tomato paste and a pinch of sugar for a thicker, less sweet version.
- Prepared Horseradish: If unavailable, mix freshly grated horseradish with a touch of vinegar.
- Worcestershire Sauce: Soy sauce with a dash of vinegar can be a quick alternative.
- Hot Sauce: Use cayenne pepper or chili flakes if you prefer dry heat.
Nutrition Facts
- Calories: 30 per 2-tablespoon serving
- Protein: 0g
- Fat: 0g
- Carbs: 8g
- Serving Size: 2 tablespoons
Frequently Asked Questions
- Can I make this sauce in advance?
Absolutely! It can be made a day ahead and stored in the fridge. - Is this sauce gluten-free?
Yes, ensure your Worcestershire sauce and ketchup are gluten-free. - How can I make it less spicy?
Reduce or omit the hot sauce to suit your taste. - Can I use lime instead of lemon?
Yes, lime juice can offer a slightly different but still delicious citrus note. - What can I serve this with besides seafood?
Try it with fries, chicken tenders, or as a burger topping.