Tag: Vegan

  • Focus Win: Vegan Ranch Dressing

    Focus Win: Vegan Ranch Dressing

    Introduction & My Personal Story

    There’s something magical about recreating a classic dish with a twist, especially when it comes to flavors that bring nostalgia but with a healthier touch. My journey with vegan ranch dressing began about five years ago when I decided to embrace a plant-based lifestyle. Growing up, ranch dressing was a staple in our household. Whether it was drizzled over a fresh salad or used as a dip for crispy veggies, its creamy texture and tangy taste were unbeatable.

    In my 5 years of experience as a chef, I’ve learned that the key to a successful vegan ranch lies in balancing flavors and achieving that perfect creamy consistency without dairy. I remember the first time I served my vegan version to my family; their eyes widened with surprise, and soon enough, they were asking for the recipe. It was a proud moment that solidified my love for creating plant-based alternatives.

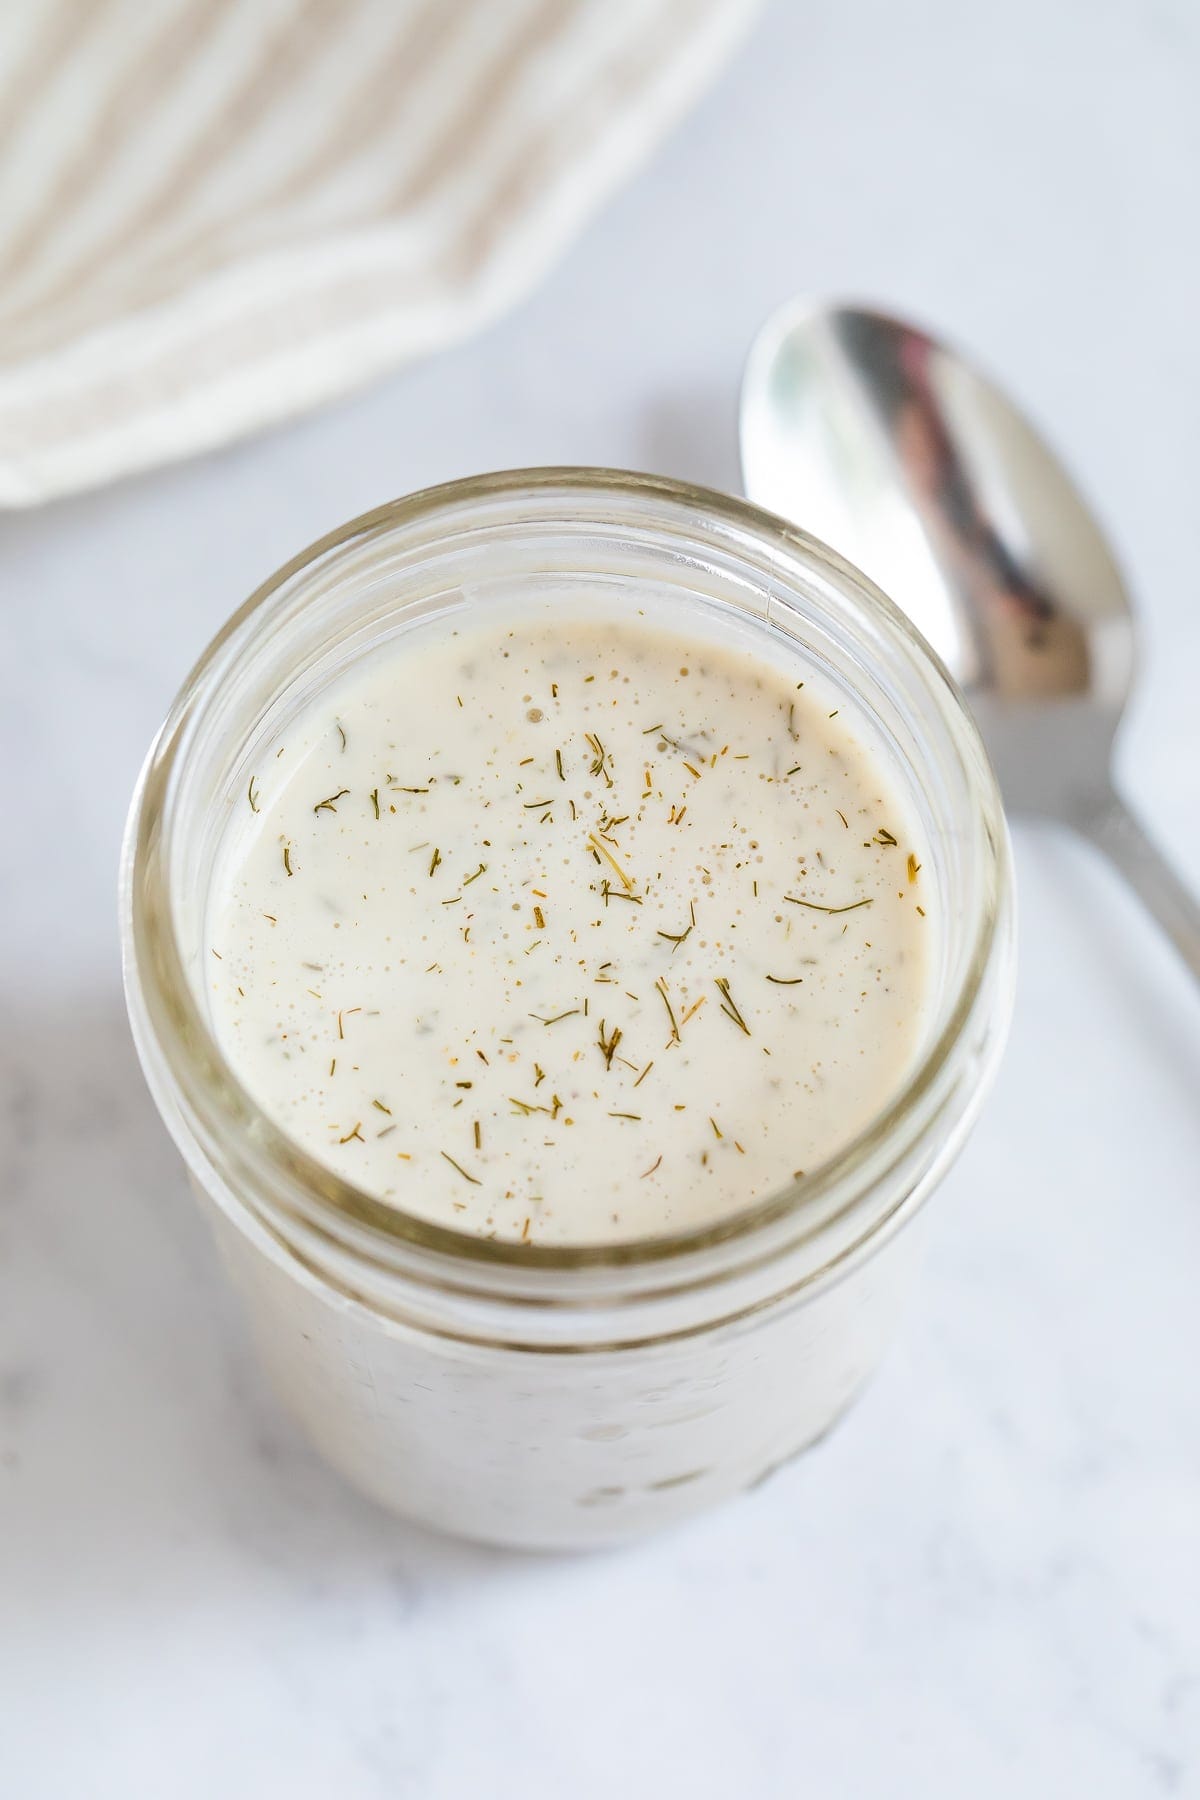
    Today, I’m thrilled to share with you my recipe for a focus-boosting, **Vegan Ranch Dressing**. It’s not only delicious but also packed with nutrients that support brain health. Let’s dive into this recipe that I hold close to my heart.

    Why You’ll Love This Recipe

    • Rich in Omega-3 fatty acids for enhanced focus.
    • Completely dairy-free and vegan-friendly.
    • Easy to make with simple, wholesome ingredients.
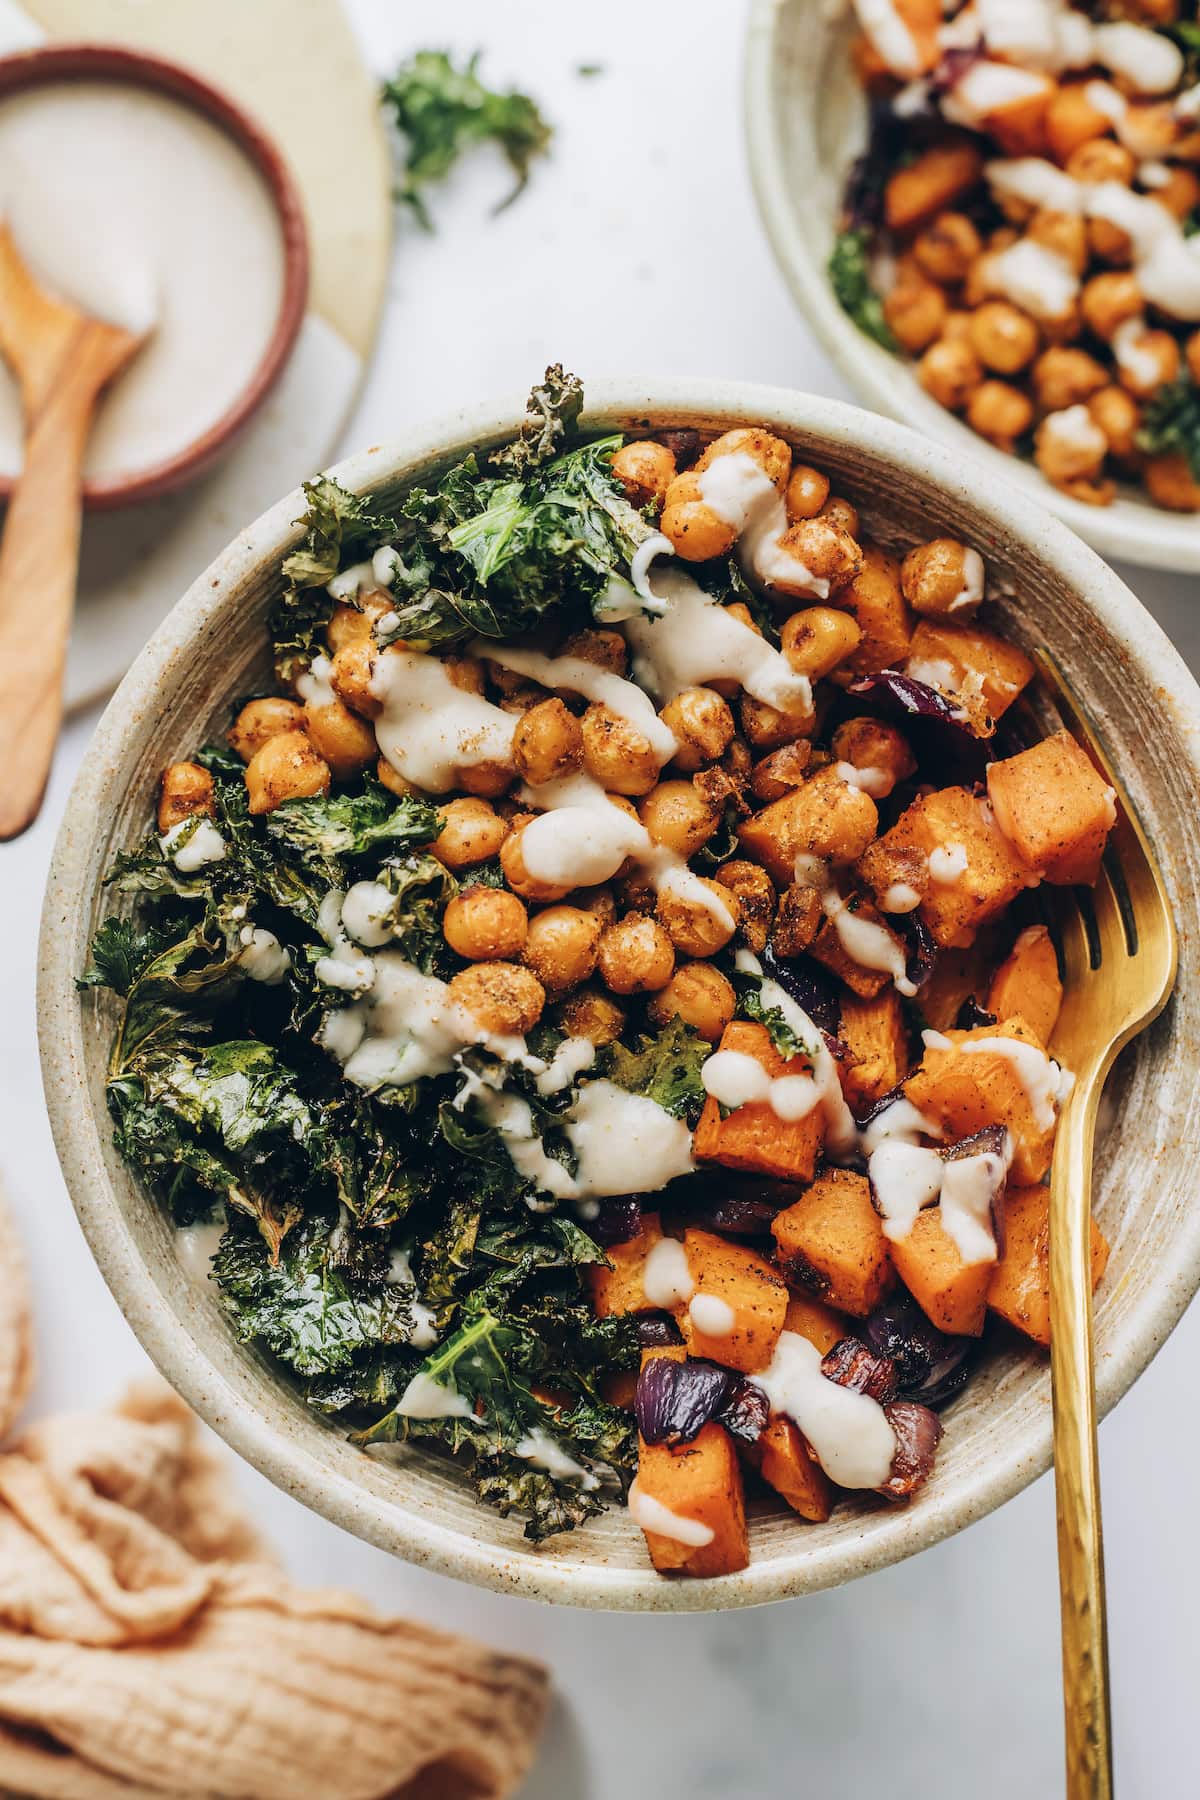
    • Versatile: perfect as a salad dressing, dip, or sandwich spread.
    • Can be stored in the fridge for up to a week.

    Detailed Ingredients

    To make this vegan ranch dressing, you’ll need the following ingredients:

    • 1 cup of raw **cashews** (soaked for 3-4 hours or quick-soaked by boiling for 15 minutes)
    • 1/2 cup of fresh **water**
    • 2 tablespoons of **apple cider vinegar**
    • 1 tablespoon of dried **dill**
    • 1 tablespoon of dried **parsley**
    • 1 teaspoon of **garlic powder**
    • 1 teaspoon of **onion powder**
    • 1/2 teaspoon of sea **salt**
    • 1/2 teaspoon of **black pepper**

    Chef’s Tip: When selecting cashews, opt for unsalted and raw varieties to control the seasoning better. The freshness of herbs can also enhance the flavor significantly.

    Step-by-Step Instructions

    Step 1: Soak the Cashews

    Begin by soaking 1 cup of raw cashews in water for 3-4 hours. This softens them, making it easier to achieve a creamy texture. If you’re in a hurry, you can quick-soak them by boiling in water for 15 minutes, then draining thoroughly.

    Step 2: Blend the Ingredients

    In a high-speed blender, combine the soaked cashews with 1/2 cup of fresh water. Add 2 tablespoons of apple cider vinegar, 1 tablespoon of dried dill, 1 tablespoon of dried parsley, 1 teaspoon of garlic powder, 1 teaspoon of onion powder, and 1/2 teaspoon each of sea salt and black pepper.

    Step 3: Process Until Smooth

    Blend on high until the mixture is completely smooth and creamy. This may take a few minutes depending on your blender’s power. Scrape down the sides if necessary to ensure all ingredients are well incorporated.

    Step 4: Taste Adjustments

    Taste the dressing and adjust the seasoning to your preference. You may want to add more salt, pepper, or herbs for a stronger flavor profile. Remember, seasoning can vary based on personal preference.

    Step 5: Store

    Transfer the dressing to an airtight container and refrigerate. It will thicken slightly as it chills. This dressing can be stored in the fridge for 5-7 days, maintaining its freshness and flavor.

    Common Mistakes to Avoid

    • **Not soaking the cashews long enough**: This can result in a gritty texture. Ensure they are fully softened.
    • **Over-blending the mixture**: While you want a smooth consistency, over-blending can cause the dressing to become too thick.
    • **Under-seasoning**: Taste as you go. The flavor should be balanced with a slight tanginess from the vinegar.

    How to Store & Reheat

    Store your vegan ranch dressing in an airtight container in the refrigerator. It will last for up to a week. If you notice any separation, simply give it a good shake or a quick stir before using. This dressing is served cold, so there’s no need to reheat it.

    Ingredient Substitutions

    • **Cashews**: Substitute with sunflower seeds for a nut-free version.
    • **Apple cider vinegar**: Lemon juice can be used for a citrusy tang.
    • **Dried herbs**: Fresh herbs can be used, but you may need to adjust quantities for a similar flavor impact.

    Nutrition Facts

    • Calories: 43 kcal per tablespoon
    • Protein: 1g per tablespoon
    • Fat: 3g per tablespoon
    • Carbs: 2g per tablespoon
    • Serving Size: 1 tablespoon

    Frequently Asked Questions

    Q: Can I freeze the vegan ranch dressing?

    A: Freezing is not recommended as it can alter the texture once thawed. It’s best enjoyed fresh from the fridge.

    Q: What dishes pair well with this dressing?

    A: This dressing is incredibly versatile! Use it on salads, as a dip for vegetable sticks, or as a spread for sandwiches and wraps.

    Q: Can I use fresh garlic and onion instead of powder?

    A: Yes, but keep in mind that fresh ingredients may alter the texture and flavor slightly. Adjust according to your taste.

    Q: How can I make this dressing spicier?

    A: Add a pinch of cayenne pepper or a dash of hot sauce for some heat.

  • NO-BAKE REWARD: Indulge in Creamy Vegan Protein Ice Cream!

    NO-BAKE REWARD: Indulge in Creamy Vegan Protein Ice Cream!

    Introduction & My Personal Story

    There’s something magical about making a dessert that doesn’t require an oven. My journey with **vegan protein ice cream** began five years ago when I was looking for a guilt-free indulgence that could satisfy my sweet tooth without compromising my health goals. During a particularly hot summer, I was inspired to create a creamy, luscious treat that even my non-vegan friends would love. The first time I made this no-bake ice cream, it was like a revelation. I remember the delight on my friends’ faces as they tasted the rich, chocolaty flavors, complemented by the smooth, velvety texture. It quickly became a staple in my household, especially on those days when I wanted something sweet without the hassle. This recipe is a testament to the fact that indulgence and health can go hand in hand. So, join me as we dive into the world of creamy, dreamy vegan protein ice cream, a treat that’s as satisfying to make as it is to eat!

    Why You’ll Love This Recipe

    • Quick and easy to make, with no baking required.
    • Packed with protein to support fitness goals.
    • Vegan-friendly and dairy-free.
    • Customizable flavors to suit any palate.
    • Perfect for a refreshing treat on hot days.

    Detailed Ingredients

    To ensure the best results, it’s important to use high-quality ingredients. Here’s what you’ll need:

    • **4 ripe bananas**, sliced and frozen
    • **1 cup almond milk** (or any plant-based milk)
    • **2 tablespoons almond butter** (look for unsweetened)
    • **3 tablespoons cocoa powder** for the chocolate version
    • **1 scoop chocolate protein powder** (about 30g)
    • **1 teaspoon vanilla extract** for the vanilla version
    • **1 teaspoon ground cinnamon** for a hint of spice
    • Optional: **Cacao nibs or chocolate chips** for added texture

    Step-by-Step Instructions

    Chocolate Version

    Step 1: Start by placing your **frozen banana chunks** into a food processor or high-speed blender. Add in the **almond milk**, **almond butter**, **cocoa powder**, and **chocolate protein powder**.

    Step 2: Blend the ingredients on high until the mixture becomes smooth and creamy. This typically takes about 3-4 minutes. Be sure to pause occasionally to scrape down the sides of the blender to ensure everything is well-mixed.

    Step 3: If you like a bit of crunch, stir in some **cacao nibs** or **chocolate chips**. Pulse the blender a couple of times to incorporate them into the mixture.

    Step 4: You can enjoy the ice cream right away by spooning it into bowls. For a firmer texture, pour the mixture into a loaf pan lined with parchment paper and freeze for at least 2 hours before scooping.

    Vanilla Version

    Step 1: Place your **frozen banana chunks** into the blender, along with **almond milk**, **vanilla extract**, **ground cinnamon**, and **protein powder**.

    Step 2: Blend until smooth and creamy, again stopping to scrape down the sides as needed. This should take 3-4 minutes.

    Step 3: Spoon the mixture into bowls for immediate enjoyment, or pour it into a loaf pan lined with parchment paper. Freeze for at least 2 hours for a scoopable consistency.

    Common Mistakes to Avoid

    Even a simple recipe can have its pitfalls. Here’s how to avoid common mistakes:

    • **Not using ripe bananas**: Ensure your bananas are ripe before freezing them. This adds natural sweetness and a creamier texture.
    • **Over-blending**: Be careful not to over-blend the mixture, as it can become too runny. If this happens, simply freeze it longer.
    • **Skipping scraping**: Not scraping down the sides of the blender can lead to uneven mixing.

    How to Store & Reheat

    Store your vegan protein ice cream in an airtight container in the freezer. It can last for up to a week, but for the best texture, consume it within a few days. To serve, let it sit at room temperature for about 10 minutes to soften slightly before scooping.

    Ingredient Substitutions

    If you need to make substitutions, here are some safe swaps:

    • **Almond milk** can be replaced with any plant-based milk, such as soy or oat milk.
    • **Almond butter** can be swapped with peanut butter or sunflower seed butter for a nut-free option.
    • For a different flavor, try using **vanilla protein powder** instead of chocolate.

    Nutrition Facts

    • Calories: 250 per serving
    • Protein: 10g
    • Fat: 8g
    • Carbs: 35g
    • Serving Size: 1 cup

    Frequently Asked Questions

    Q: Can I use fresh bananas instead of frozen?

    A: For the best texture, use frozen bananas. Fresh bananas won’t give the same creamy consistency.

    Q: How can I make this recipe nut-free?

    A: Swap almond milk for oat milk and use sunflower seed butter instead of almond butter.

    Q: Can I add other flavors to the ice cream?

    A: Absolutely! Try adding a teaspoon of instant coffee for a mocha flavor or a handful of berries for a fruity twist.

    Q: What type of blender is best for this recipe?

    A: A high-speed blender or food processor works best to achieve a smooth, creamy texture.


  • Focus Win: Vegan Power Bowl!

    Focus Win: Vegan Power Bowl!

    Introduction & My Personal Story

    There’s something truly magical about the simplicity and power of a well-crafted vegan power bowl. I remember the first time I made this dish; it was a sunny afternoon in my tiny kitchen, and I was on a quest to create something that was not only delicious but also packed with nutrients to fuel my busy lifestyle. In my 5 years of experience as a chef, I’ve learned that food is not just about satisfying hunger—it’s about nourishing the body and mind. This particular recipe became a staple for me during a hectic period when I was juggling multiple projects and needed that extra edge to stay focused and energized. Each ingredient was carefully chosen for its ability to boost brain power, from the omega-3 rich ingredients to the vibrant, nutrient-dense vegetables. Every time I make this dish now, it brings me back to that moment of discovery and the joy of creating something that truly supports my hustle.

    Why You’ll Love This Recipe

    • High in Omega-3s for improved focus and cognitive function.
    • Quick and easy to prepare, perfect for busy schedules.
    • Rich in flavor and texture, satisfying for both vegans and non-vegans alike.
    • Customizable with ingredient substitutions to suit your taste and dietary needs.
    • Packed with plant-based protein to keep you full and energized.

    Detailed Ingredients

    • 2 medium **sweet potatoes**, peeled and diced (about 500g)
    • 1 medium **red onion**, sliced (about 150g)
    • 2 cups **kale**, chopped (about 100g)
    • 1 can (400g) **chickpeas**, drained and rinsed
    • 3 tablespoons **olive oil**, divided
    • 1/2 teaspoon **salt**, plus more to taste
    • 1/4 teaspoon **black pepper**, plus more to taste
    • 1/4 teaspoon **cumin**
    • 1 tablespoon **brown sugar**
    • 1/2 teaspoon **chili powder**
    • 1 can (400g) **cannellini beans**, drained
    • 2 tablespoons **warm water**
    • 1 tablespoon **apple cider vinegar**

    Step-by-Step Instructions

    Step 1: Preheat your oven to 400°F (200°C). Line a baking sheet with foil or parchment paper for easy cleanup.

    Step 2: Prepare your vegetables. Dice the sweet potatoes into even-sized cubes for even cooking. Slice the red onion and chop the kale into bite-sized pieces.

    Step 3: On the prepared baking sheet, combine the diced sweet potatoes and sliced onion. Drizzle with 1 tablespoon of olive oil, then sprinkle with 1/2 teaspoon of salt, 1/4 teaspoon of pepper, and 1/4 teaspoon of cumin. Toss everything until the vegetables are well coated.

    Step 4: Roast the sweet potatoes and onions for 10 minutes. Remove the tray from the oven, flip the sweet potatoes, and push them to one side. Add the chopped kale to the other side of the tray, drizzle with 2 teaspoons of olive oil, and season with a pinch of salt and pepper. Return to the oven and continue roasting for another 10 minutes, or until the sweet potatoes are tender and the kale is crispy.

    Step 5: While the vegetables roast, prepare the chickpeas. In a medium bowl, combine the drained chickpeas with brown sugar, 1/2 teaspoon chili powder, 1/4 teaspoon salt, and a dash of pepper. Toss until the chickpeas are evenly coated.

    Step 6: Heat a skillet over medium heat and add 1 tablespoon of olive oil. Once the oil is shimmering, add the seasoned chickpeas. Cook for about 8 minutes, stirring occasionally, until the chickpeas are crispy and golden.

    Step 7: For the dressing, blend the drained cannellini beans with 2 tablespoons of warm water, 1 tablespoon of apple cider vinegar, 1 tablespoon of olive oil, 1/2 teaspoon of salt, and 1/4 teaspoon of pepper until smooth. If the dressing is too thick, add more water until you reach your desired consistency.

    Step 8: Assemble your power bowls by dividing the roasted vegetables between two bowls. Top with the crispy chickpeas and drizzle generously with the creamy dressing.

    Step 9: Enjoy your Vegan Power Bowl and feel the focus and energy kick in!

    Common Mistakes to Avoid

    Overcrowding the Baking Sheet: Make sure not to overcrowd the baking sheet when roasting vegetables. This can cause steaming rather than roasting, preventing the vegetables from getting crispy. Use two trays if necessary.

    Not Flipping the Vegetables: Forgetting to flip the sweet potatoes halfway through roasting can result in uneven cooking. Make sure to give them a good toss for even browning.

    Skipping the Chickpea Seasoning: The seasoning is crucial for adding flavor to the chickpeas. Don’t skip it, and make sure the chickpeas are well coated before cooking.

    How to Store & Reheat

    Store any leftovers in an airtight container in the refrigerator for up to 3 days. To reheat, place the power bowl in the microwave for 1-2 minutes or until heated through. Alternatively, reheat the vegetables and chickpeas in a skillet over medium heat until warmed. Chef’s Tip: Add a splash of water to the skillet to prevent the chickpeas from drying out.

    Ingredient Substitutions

    • **Sweet Potatoes:** Swap with butternut squash or carrots for a different flavor profile.
    • **Kale:** Use spinach or Swiss chard if you prefer milder greens.
    • **Chickpeas:** Substitute with black beans or lentils for a varied texture.
    • **Cannellini Beans:** Replace with silken tofu for a soy-based dressing alternative.

    Nutrition Facts

    • Calories: 630 kcal
    • Protein: 16g
    • Fat: 25g
    • Carbohydrates: 85g
    • Serving Size: 1 bowl

    Frequently Asked Questions

    Can I make this power bowl ahead of time? Yes, you can prep the vegetables and chickpeas in advance. Store them separately in the fridge and assemble when ready to eat.

    Is this recipe gluten-free? Absolutely! This Vegan Power Bowl is naturally gluten-free.

    What other toppings can I add? Consider adding avocado, nuts, or seeds for extra texture and nutrients.

    Can I use canned sweet potatoes? Fresh sweet potatoes are recommended for the best texture and flavor, but canned can work in a pinch.