Tag: Blueberries

  • Focus Win: Conquer Mindless Snacking!

    Focus Win: Conquer Mindless Snacking!

    Introduction & My Personal Story

    Growing up, my relationship with snacking was akin to a rollercoaster ride—filled with ups, downs, and unexpected turns. As a child, I was the kid with crumbs on his shirt, always reaching for the next snack without a second thought. Fast forward to my 20s, and I began to notice how these mindless munching habits affected my focus and energy levels. It wasn’t until I embarked on my culinary journey, over 5 years ago, that I truly understood the impact of mindful eating. In the hustle and bustle of a professional kitchen, maintaining energy and mental clarity is non-negotiable. I’ve learned that strategic snacking isn’t about deprivation; it’s about making choices that fuel your brain and body, rather than bogging them down. This realization led me to develop a game plan for conquering mindless snacking, a plan I’m thrilled to share with you today. Let’s transform your snack time into a focused, performance-enhancing ritual.

    Why You’ll Love This Recipe

    • Boosts focus and mental clarity with **Omega-3 rich** snacks.
    • Easy to integrate into daily routines.
    • Helps maintain energy levels throughout the day.
    • Promotes mindful eating habits.
    • Customizable to suit dietary needs and preferences.

    Detailed Ingredients

    For this snacking strategy, you’ll need a variety of ingredients to keep your snacks balanced and nutritious:

    • **Walnuts** – 50g (rich in Omega-3 fatty acids)
    • **Almonds** – 50g (high in protein and healthy fats)
    • **Greek Yogurt** – 1 cup (245g, packed with protein)
    • **Berries** – 1 cup (150g, for natural sweetness and antioxidants)
    • **Chia Seeds** – 2 tablespoons (30g, for fiber and Omega-3s)
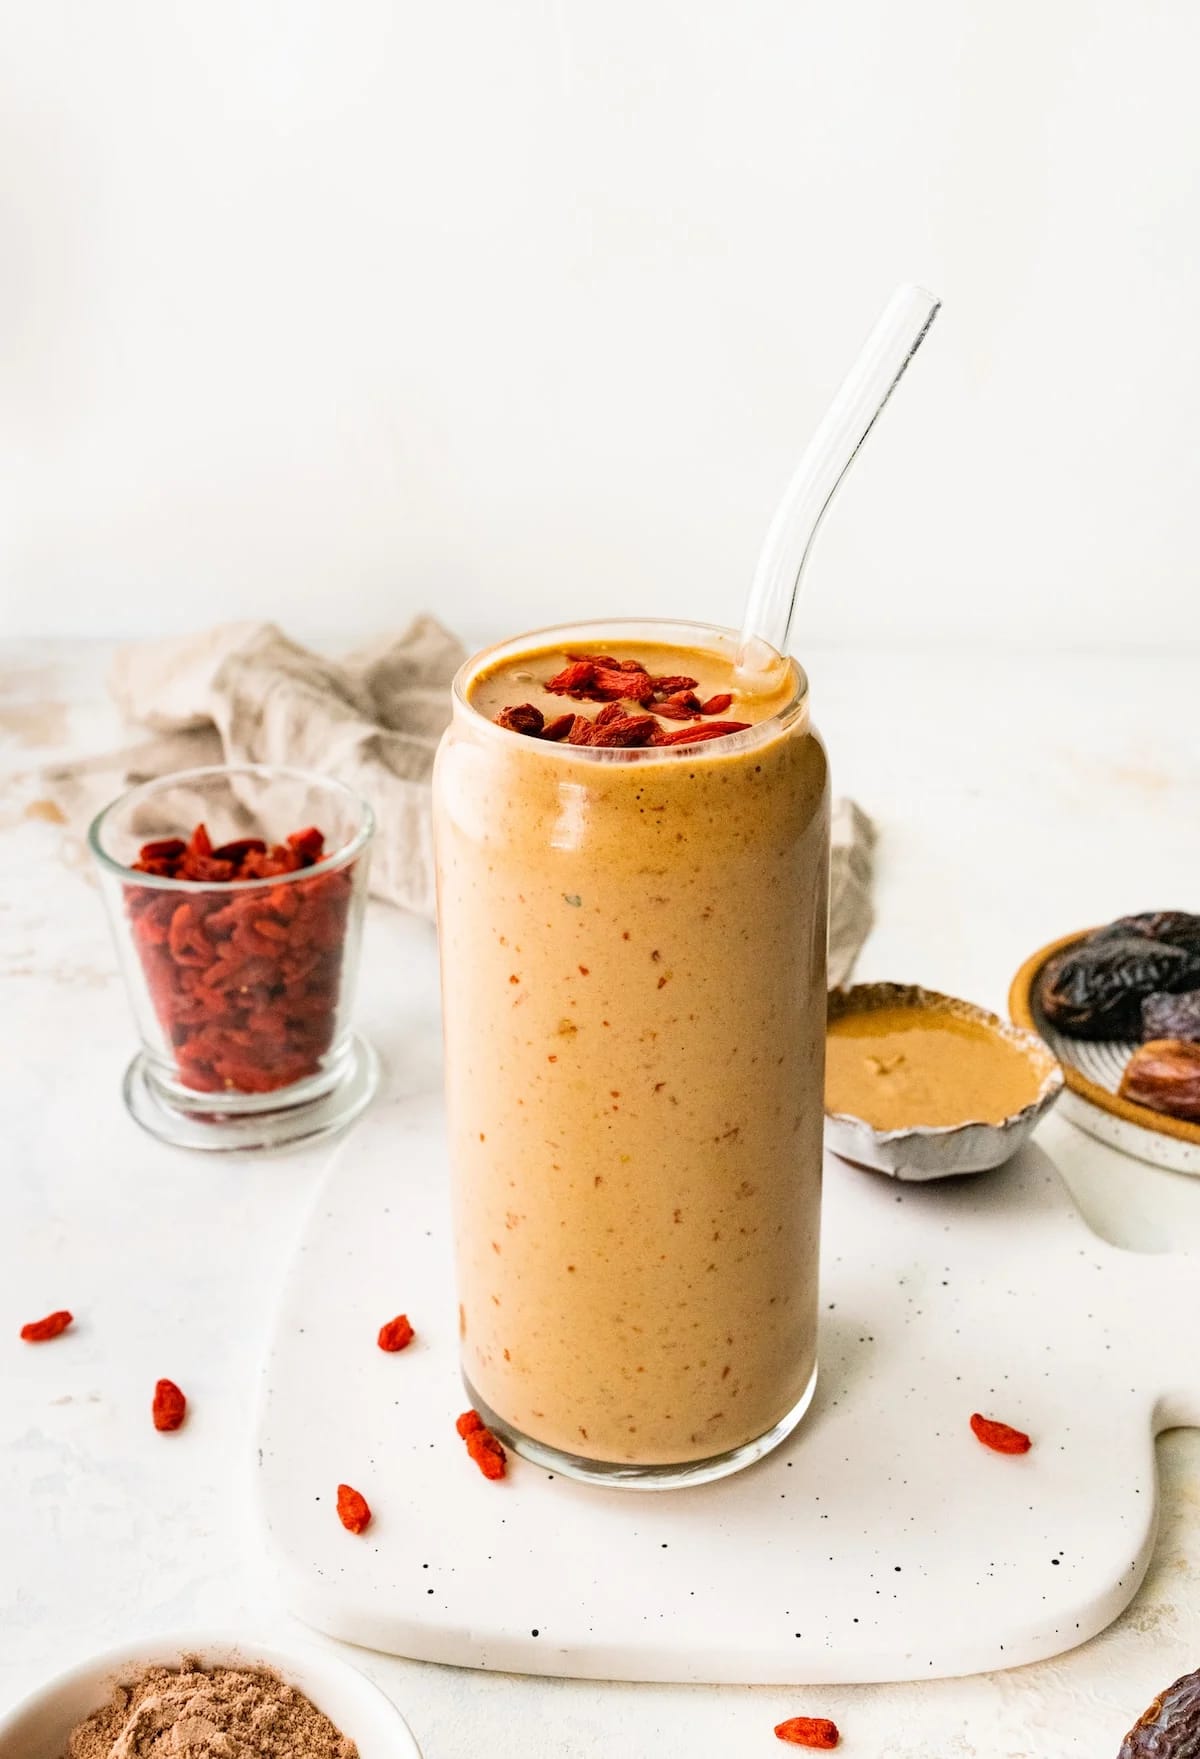
    • **Dark Chocolate** – 30g (at least 70% cocoa, for a mood boost)
    • **Hummus** – ½ cup (120g, for protein and fiber)
    • **Carrot Sticks** – 1 cup (120g, crunchy and satisfying)

    When selecting these ingredients, opt for unsalted nuts and plain Greek yogurt to keep added sugars and sodium low. Fresh, organic berries are ideal for maximum flavor and nutrients.

    Step-by-Step Instructions

    Let’s dive into how you can conquer mindless snacking with these steps:

    Step 1: Plan Your Snacks

    Begin by planning out your snacks for the week. Consider times you typically feel hungry and prepare portions in advance. For example, mix **walnuts** and **almonds** together in small containers for a quick grab-and-go option. Chef’s Tip: Use a kitchen scale to ensure portions are consistent, which helps in managing calorie intake.

    Step 2: Create a Snacking Ritual

    Allocate specific times for snacks and treat them like mini meals. Pour your **Greek yogurt** into a bowl, top with **berries** and **chia seeds**, and savor each bite. This practice not only enhances enjoyment but helps you recognize fullness signals. In my 5 years of experience, I’ve found that removing distractions, like phones or TVs, is key to mindful eating.

    Step 3: Smart Snack Choices

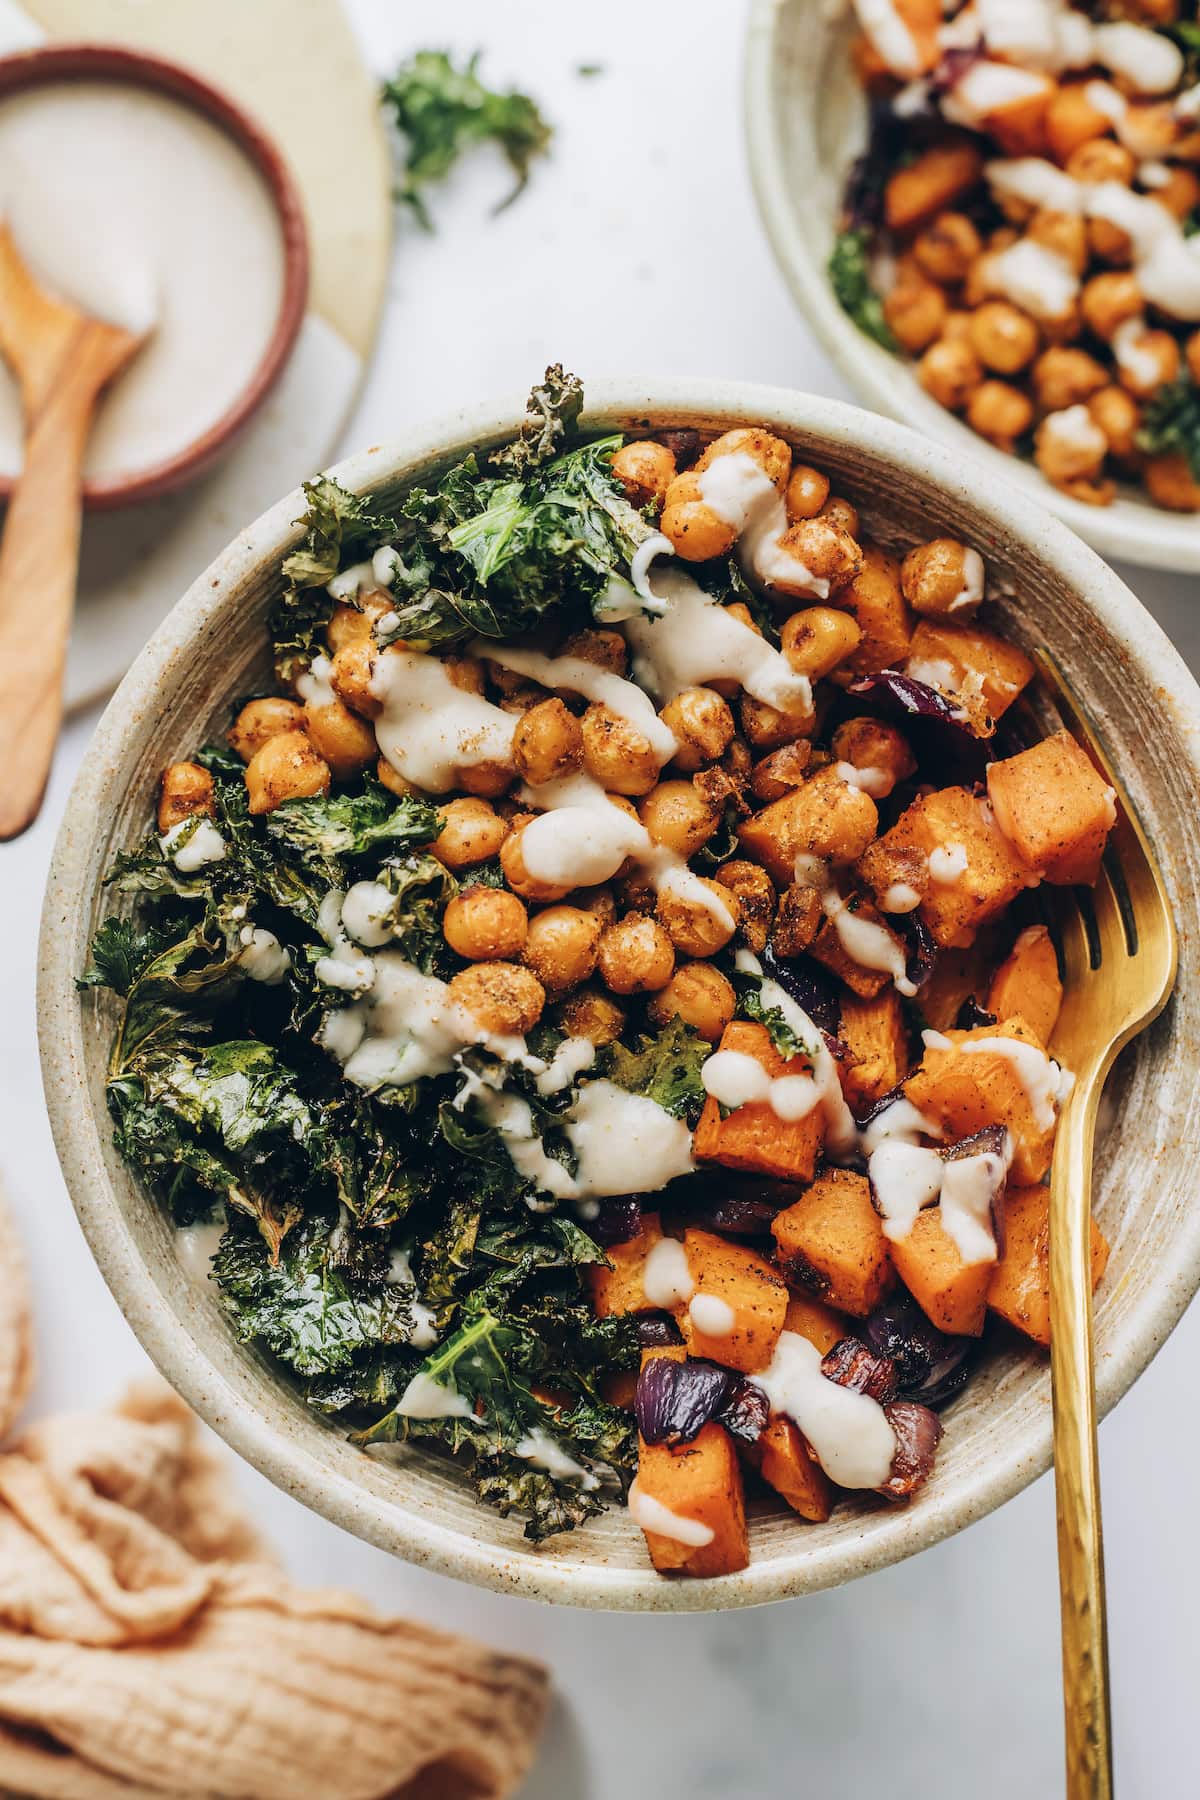
    Pair **hummus** with **carrot sticks** for a crunchy, satisfying snack. The fiber from carrots and protein from hummus work together to keep you full longer. Chef’s Tip: Try adding a sprinkle of smoked paprika to your hummus for an extra burst of flavor.

    Step 4: Control Your Environment

    Store **dark chocolate** in a drawer rather than on the counter to avoid temptation. When you do indulge, allow yourself a small piece and savor it slowly. This prevents overeating and satisfies cravings effectively.

    Step 5: Address Triggers

    Identify times when you’re drawn to snack out of boredom or stress. Replace this habit with a walk or a few minutes of deep breathing exercises. Over time, these healthier responses will become second nature.

    Common Mistakes to Avoid

    Avoid these pitfalls to ensure your snacking strategy is successful:

    • Skipping Meals: This often leads to excessive hunger and poor snack choices. Stick to regular meal times.
    • Mindless Eating: Eating directly from the bag or container can lead to overconsumption. Always portion snacks beforehand.
    • Ignoring Thirst: Dehydration is often mistaken for hunger. Keep a water bottle handy and stay hydrated.
    • Choosing Sugary Snacks: High sugar snacks cause energy crashes. Opt for whole foods and natural sugars.

    How to Store & Reheat

    Proper storage is crucial for maintaining the freshness of your snacks:

    • Store **nuts** in an airtight container in a cool, dry place for up to 3 months.
    • Keep **Greek yogurt** and **berries** refrigerated and consume within a week.
    • **Hummus** should be stored in the refrigerator and used within 5 days.
    • **Dark chocolate** can be stored at room temperature, away from direct sunlight, for several months.

    Ingredient Substitutions

    Here’s how you can swap ingredients while maintaining nutritional balance:

    • **Walnuts** can be substituted with **flaxseeds** for a similar Omega-3 boost.
    • **Almonds** can be replaced with **sunflower seeds** if you need a nut-free option.
    • **Greek yogurt** can be swapped with **cottage cheese** for a similar protein content.
    • **Berries** can be replaced with **sliced apples** or **pears** for a different flavor profile.

    Nutrition Facts

    • Calories: 200 kcal per serving
    • Protein: 8g
    • Fat: 15g
    • Carbs: 12g
    • Serving Size: 1 snack portion

    Frequently Asked Questions

    • Q: Can I prepare snacks in advance?
      A: Absolutely! Preparing snacks ahead of time can help you avoid reaching for unhealthy options.
    • Q: What if I have nut allergies?
      A: Substitute nuts with seeds like pumpkin or sunflower seeds to maintain nutritional benefits.
    • Q: How do I handle cravings?
      A: Drink a glass of water first, wait 10 minutes, and then decide if you’re truly hungry.
    • Q: Are these snacks suitable for kids?
      A: Yes, these snacks are nutritious and can be adjusted to suit a child’s taste preferences.

  • Brain Fuel: Conquering Post Pill Amenorrhea

    Brain Fuel: Conquering Post Pill Amenorrhea

    Introduction & My Personal Story

    When I think about meals that have truly changed my perspective on nutrition, the Omega-3 Power Bowl immediately comes to mind. Five years ago, during a particularly hectic period in my life, I found myself struggling with focus and energy. As a chef, I knew food could be the answer, but I needed something that provided more than just sustenance. I needed a dish that was both a feast for the senses and a powerhouse for the brain.

    One evening, after a long day in the kitchen, I stumbled upon a simple combination of ingredients that changed everything. I grilled a fillet of fresh salmon, tossed it with some vibrant spinach, and sprinkled a mix of walnuts and chia seeds. A squeeze of lemon juice tied it all together. The result was not just a meal—it was a revelation. This dish became my go-to for days when I needed to be at my best, providing a boost in focus and clarity that was immediately noticeable.

    In my 5 years of experience, I’ve refined this recipe to perfection, and today I’m sharing it with you. It’s more than just a bowl; it’s a strategy for conquering the demands of a busy life. Whether you’re a student, a professional, or just someone looking to enhance your cognitive performance, this Omega-3 Power Bowl is your secret weapon.

    Why You’ll Love This Recipe

    • Packed with brain-boosting Omega-3 fatty acids.
    • Quick and easy to prepare, perfect for busy schedules.
    • Rich in protein and healthy fats to keep you full and focused.
    • Customizable with your favorite greens and toppings.
    • Gluten-free and keto-friendly.

    Detailed Ingredients

    • Salmon fillet – 200g, fresh and preferably wild-caught for the highest Omega-3 content.
    • Spinach – 2 cups (about 60g), fresh and organic if possible for maximum nutrients.
    • Walnuts – 1/4 cup (30g), chopped for a crunchy texture.
    • Chia seeds – 1 tablespoon (12g), for an extra Omega-3 boost.
    • Avocado – 1/2, ripe and sliced for creaminess.
    • Lemon – 1, juiced for a zesty dressing.
    • Salt and pepper to taste.
    • Optional: Fresh herbs like dill or parsley for garnish.

    Step-by-Step Instructions

    Step 1: Prepare the Fish – Start by seasoning your 200g salmon fillet with salt, pepper, and a sprinkle of fresh dill if you have it. Heat a non-stick skillet over medium-high heat and add a small amount of oil. Once hot, place the salmon skin-side down. Cook for about 4-5 minutes per side, or until the fish is opaque and flakes easily with a fork. Chef’s Tip: Don’t move the salmon too soon; let it develop a nice crust.

    Step 2: Prep the Greens – While the salmon is cooking, rinse and dry your spinach. In a large bowl, toss the spinach with sliced avocado. This not only adds creaminess but also boosts the nutrient profile of the dish.

    Step 3: Add the Crunch – Chop the walnuts and sprinkle them over the spinach and avocado mixture. Add the tablespoon of chia seeds for an extra dose of Omega-3s and texture.

    Step 4: Assemble the Bowl – Once the salmon is cooked, let it rest for a minute before slicing it into strips. Arrange the salmon over the prepared greens.

    Step 5: Dress It Up – Squeeze fresh lemon juice over the entire bowl. This not only enhances the flavor but also helps with the absorption of iron from the spinach.

    Step 6: Serve & Enjoy – Garnish with fresh herbs, if using, and serve immediately. Enjoy the vibrant flavors and the knowledge that you’re fueling your brain with every bite.

    Common Mistakes to Avoid

    One common mistake is overcooking the salmon, which can make it dry. Keep an eye on the cooking time and use medium-high heat for a crispy skin. Another error is not drying the spinach thoroughly, which can lead to a soggy salad. Ensure your greens are as dry as possible before assembling the bowl.

    How to Store & Reheat

    If you have leftovers, store the components separately in airtight containers. The salmon will keep in the fridge for up to 2 days. To reheat, gently warm the salmon in a skillet over low heat. The greens are best served fresh, so assemble just before eating.

    Ingredient Substitutions

    • If you don’t have salmon, try mackerel or sardines for similar Omega-3 benefits.
    • For a nut-free version, substitute walnuts with toasted pumpkin seeds.
    • If you’re out of spinach, arugula or kale are great alternatives.

    Nutrition Facts

    • Calories: 450 kcal
    • Protein: 40g
    • Fat: 30g
    • Carbs: 10g
    • Serving Size: 1 bowl

    Frequently Asked Questions

    Q: Can I use frozen salmon?

    A: Yes, just make sure to thaw it completely before cooking for the best texture.

    Q: How can I make this dish vegan?

    A: Substitute the salmon with grilled tofu or chickpeas for a plant-based version.

    Q: What other greens can I use?

    A: Feel free to use any leafy greens you enjoy, such as kale, arugula, or mixed greens.

    Q: Is this dish suitable for meal prep?

    A: Absolutely! Just keep the components separate until you’re ready to eat.


  • Brain Fuel: Butterfinger Bliss Smoothie

    Brain Fuel: Butterfinger Bliss Smoothie

    Introduction & My Personal Story

    Ah, the Butterfinger Bliss Smoothie. Just saying the name brings back a flood of memories. As a young chef, I was always on the lookout for recipes that could satisfy my sweet tooth without derailing my health goals. The Butterfinger candy bar was my guilty pleasure, but I knew I needed to transform that indulgent treat into something a bit more wholesome. It was during a particularly busy week, juggling culinary school and a part-time job, that I first experimented with this recipe. The goal was simple: create a smoothie that mimicked the iconic flavor of a Butterfinger, but with a nutritional boost to fuel my hectic days.

    In those early days, I learned a lot about the power of ingredients. The rich creaminess of oat milk, the natural sweetness from frozen bananas, and the secret addition of zucchini for extra nutrients without altering the taste. Each morning, I’d blend up this concoction, sip it on my way to class, and feel instantly energized and focused. In my 5 years of experience as a chef, I’ve perfected this recipe to ensure it delivers the decadent taste of a Butterfinger bar while packing a nutritional punch. It’s a recipe that holds a special place in my heart, and I can’t wait to share it with you.

    Why You’ll Love This Recipe

    • Tastes like a dessert: Satisfy your sweet cravings without the guilt.
    • Boosts brain power: Packed with Omega-3s for enhanced focus.
    • Quick and easy: Ready in just 10 minutes, perfect for busy mornings.
    • High in protein: Provides over 29g of protein to keep you full and energized.
    • Customizable: Easily adjust ingredients to fit dietary needs.

    Detailed Ingredients

    For this Butterfinger Bliss Smoothie, you’ll need:

    • 1 cup (240ml) Oat Milk: Opt for unsweetened for a creamier texture. Almond or cashew milk can be used as alternatives.
    • 1 frozen banana: Provides natural sweetness and a thick, creamy texture. Ensure it’s ripe before freezing.
    • 1/2 cup (75g) frozen zucchini: Adds nutrients without altering the taste. Slice before freezing for easier blending.
    • 1 scoop (30g) Chocolate Protein Powder: Choose a quality brand like Nuzest for a rich chocolate flavor.
    • 1 Medjool Date: Offers natural sweetness. You can omit it if you’re watching sugar intake.
    • 2 tablespoons (30g) Peanut Butter: Use natural peanut butter without added sugars or oils. Almond butter can be substituted.
    • 1 cup (240ml) Ice: Essential for that refreshing chill and thickness.
    • 2 tablespoons (20g) Goji Berries: Not only do they add a delightful crunch, but they’re also packed with antioxidants.

    Step-by-Step Instructions

    Step 1: Prepare Your Ingredients

    Begin by gathering all your ingredients. Make sure your banana and zucchini are frozen. This is key to achieving the desired creamy texture without needing additional ice cream or sweeteners. If your peanut butter is stored in the fridge, bring it to room temperature for easier blending.

    Step 2: Blend the Base

    In a high-powered blender, combine the oat milk, frozen banana, frozen zucchini, chocolate protein powder, Medjool date, and peanut butter. Blend on high for about 1-2 minutes until the mixture is completely smooth. You’re looking for a thick, creamy consistency without any lumps. If the mixture is too thick for your liking, add a splash more oat milk.

    Step 3: Add the Crunch

    Add the goji berries to the blender and pulse for just a few seconds. You want the berries to break up slightly but not be completely pulverized. This preserves the delightful crunch that mimics the texture of a Butterfinger bar.

    Step 4: Serve and Enjoy

    Pour the smoothie into a tall glass and serve immediately. For an extra touch, garnish with a few whole goji berries or a sprinkle of crushed peanuts. Sip, savor, and enjoy the blissful combination of flavors and textures.

    Common Mistakes to Avoid

    • Not freezing the banana or zucchini: This is crucial for the texture. Without freezing, the smoothie will be too thin.
    • Over-blending the goji berries: Pulse them just enough to break them up slightly; otherwise, you’ll lose the crunch.
    • Using a low-quality blender: A high-powered blender ensures a smooth consistency without chunks.
    • Skipping the protein powder: It not only adds flavor but also boosts the protein content significantly.

    How to Store & Reheat

    If you find yourself with leftover smoothie (though it’s so delicious, that’s unlikely!), store it in an airtight container in the refrigerator for up to 24 hours. Before consuming, give it a good shake or stir, as separation may occur. Note that the texture will be slightly thinner after storage.

    Ingredient Substitutions

    • Oat Milk: Swap with almond or cashew milk for a different flavor profile.
    • Banana: If you’re not a fan of bananas, try using frozen mango for a tropical twist.
    • Peanut Butter: Almond butter or sunflower seed butter can be used for those with peanut allergies.
    • Chocolate Protein Powder: Use a vanilla-flavored powder and add a tablespoon of cocoa powder for a similar effect.

    Nutrition Facts

    • Calories: 422 kcal
    • Protein: 29g
    • Fat: 18g
    • Carbohydrates: 45g
    • Serving Size: 1 smoothie

    Frequently Asked Questions

    • Can I make this smoothie ahead of time? Yes, you can prepare it the night before and store it in the fridge. Just give it a good shake before drinking.
    • Is there a substitute for goji berries? You can use chia seeds or flaxseeds for added nutrition and texture.
    • How can I make this smoothie vegan? Ensure your protein powder is plant-based, and all other ingredients are already vegan-friendly.
    • Can I add greens to this smoothie? Absolutely! A handful of spinach or kale will blend in seamlessly without altering the taste much.


  • Focus Win: Vegan Power Bowl!

    Focus Win: Vegan Power Bowl!

    Introduction & My Personal Story

    There’s something truly magical about the simplicity and power of a well-crafted vegan power bowl. I remember the first time I made this dish; it was a sunny afternoon in my tiny kitchen, and I was on a quest to create something that was not only delicious but also packed with nutrients to fuel my busy lifestyle. In my 5 years of experience as a chef, I’ve learned that food is not just about satisfying hunger—it’s about nourishing the body and mind. This particular recipe became a staple for me during a hectic period when I was juggling multiple projects and needed that extra edge to stay focused and energized. Each ingredient was carefully chosen for its ability to boost brain power, from the omega-3 rich ingredients to the vibrant, nutrient-dense vegetables. Every time I make this dish now, it brings me back to that moment of discovery and the joy of creating something that truly supports my hustle.

    Why You’ll Love This Recipe

    • High in Omega-3s for improved focus and cognitive function.
    • Quick and easy to prepare, perfect for busy schedules.
    • Rich in flavor and texture, satisfying for both vegans and non-vegans alike.
    • Customizable with ingredient substitutions to suit your taste and dietary needs.
    • Packed with plant-based protein to keep you full and energized.

    Detailed Ingredients

    • 2 medium **sweet potatoes**, peeled and diced (about 500g)
    • 1 medium **red onion**, sliced (about 150g)
    • 2 cups **kale**, chopped (about 100g)
    • 1 can (400g) **chickpeas**, drained and rinsed
    • 3 tablespoons **olive oil**, divided
    • 1/2 teaspoon **salt**, plus more to taste
    • 1/4 teaspoon **black pepper**, plus more to taste
    • 1/4 teaspoon **cumin**
    • 1 tablespoon **brown sugar**
    • 1/2 teaspoon **chili powder**
    • 1 can (400g) **cannellini beans**, drained
    • 2 tablespoons **warm water**
    • 1 tablespoon **apple cider vinegar**

    Step-by-Step Instructions

    Step 1: Preheat your oven to 400°F (200°C). Line a baking sheet with foil or parchment paper for easy cleanup.

    Step 2: Prepare your vegetables. Dice the sweet potatoes into even-sized cubes for even cooking. Slice the red onion and chop the kale into bite-sized pieces.

    Step 3: On the prepared baking sheet, combine the diced sweet potatoes and sliced onion. Drizzle with 1 tablespoon of olive oil, then sprinkle with 1/2 teaspoon of salt, 1/4 teaspoon of pepper, and 1/4 teaspoon of cumin. Toss everything until the vegetables are well coated.

    Step 4: Roast the sweet potatoes and onions for 10 minutes. Remove the tray from the oven, flip the sweet potatoes, and push them to one side. Add the chopped kale to the other side of the tray, drizzle with 2 teaspoons of olive oil, and season with a pinch of salt and pepper. Return to the oven and continue roasting for another 10 minutes, or until the sweet potatoes are tender and the kale is crispy.

    Step 5: While the vegetables roast, prepare the chickpeas. In a medium bowl, combine the drained chickpeas with brown sugar, 1/2 teaspoon chili powder, 1/4 teaspoon salt, and a dash of pepper. Toss until the chickpeas are evenly coated.

    Step 6: Heat a skillet over medium heat and add 1 tablespoon of olive oil. Once the oil is shimmering, add the seasoned chickpeas. Cook for about 8 minutes, stirring occasionally, until the chickpeas are crispy and golden.

    Step 7: For the dressing, blend the drained cannellini beans with 2 tablespoons of warm water, 1 tablespoon of apple cider vinegar, 1 tablespoon of olive oil, 1/2 teaspoon of salt, and 1/4 teaspoon of pepper until smooth. If the dressing is too thick, add more water until you reach your desired consistency.

    Step 8: Assemble your power bowls by dividing the roasted vegetables between two bowls. Top with the crispy chickpeas and drizzle generously with the creamy dressing.

    Step 9: Enjoy your Vegan Power Bowl and feel the focus and energy kick in!

    Common Mistakes to Avoid

    Overcrowding the Baking Sheet: Make sure not to overcrowd the baking sheet when roasting vegetables. This can cause steaming rather than roasting, preventing the vegetables from getting crispy. Use two trays if necessary.

    Not Flipping the Vegetables: Forgetting to flip the sweet potatoes halfway through roasting can result in uneven cooking. Make sure to give them a good toss for even browning.

    Skipping the Chickpea Seasoning: The seasoning is crucial for adding flavor to the chickpeas. Don’t skip it, and make sure the chickpeas are well coated before cooking.

    How to Store & Reheat

    Store any leftovers in an airtight container in the refrigerator for up to 3 days. To reheat, place the power bowl in the microwave for 1-2 minutes or until heated through. Alternatively, reheat the vegetables and chickpeas in a skillet over medium heat until warmed. Chef’s Tip: Add a splash of water to the skillet to prevent the chickpeas from drying out.

    Ingredient Substitutions

    • **Sweet Potatoes:** Swap with butternut squash or carrots for a different flavor profile.
    • **Kale:** Use spinach or Swiss chard if you prefer milder greens.
    • **Chickpeas:** Substitute with black beans or lentils for a varied texture.
    • **Cannellini Beans:** Replace with silken tofu for a soy-based dressing alternative.

    Nutrition Facts

    • Calories: 630 kcal
    • Protein: 16g
    • Fat: 25g
    • Carbohydrates: 85g
    • Serving Size: 1 bowl

    Frequently Asked Questions

    Can I make this power bowl ahead of time? Yes, you can prep the vegetables and chickpeas in advance. Store them separately in the fridge and assemble when ready to eat.

    Is this recipe gluten-free? Absolutely! This Vegan Power Bowl is naturally gluten-free.

    What other toppings can I add? Consider adding avocado, nuts, or seeds for extra texture and nutrients.

    Can I use canned sweet potatoes? Fresh sweet potatoes are recommended for the best texture and flavor, but canned can work in a pinch.

  • Focus Win: Beet Power Salad

    Focus Win: Beet Power Salad

    Introduction & My Personal Story

    There’s something magical about the vibrant colors and earthy sweetness of beets that takes me back to my grandmother’s kitchen. I remember the first time I helped her prepare a beet salad; the kitchen smelled of fresh herbs and the sound of her knife slicing through the beets was rhythmic and soothing. It was a sunny afternoon, and the light streamed in through the window, casting a warm glow over the kitchen table. As we worked, she shared stories of her childhood, weaving tales of family gatherings and festive meals. This Beet Power Salad is a nod to those cherished memories, a modern twist on a classic that nourished my family for generations.

    In my 5 years of experience as a chef, I’ve learned that food isn’t just about sustenance; it’s about connection and joy. This salad is a testament to that philosophy. Packed with nutrient-dense ingredients, it not only fuels the body but also feeds the soul. Whether you’re looking for a quick lunch or a dish to impress your friends, this Beet Power Salad is a winner. It’s easy to make, incredibly satisfying, and a feast for the eyes with its vibrant colors. Join me as we dive into this delightful recipe that combines tradition with a modern twist.

    Why You’ll Love This Recipe

    • Nutritious: Packed with antioxidants, vitamins, and plant-based protein.
    • Convenient: Perfect for meal prep and on-the-go lunches.
    • Versatile: Easy to customize with your favorite ingredients.
    • Delicious: A balance of sweet, savory, and crunchy textures.
    • Visually Stunning: A colorful addition to any meal lineup.

    Detailed Ingredients

    Let’s talk ingredients. For this salad, quality matters. Here’s what you’ll need:

    • Beets: 2 medium-sized beets (about 300g), roasted or steamed. Look for firm, unblemished bulbs.
    • Carrots: 2 large carrots (about 150g), shredded. Choose bright orange, firm carrots.
    • Quinoa: 1 cup (about 185g), cooked. Opt for organic if possible.
    • Brussels Sprouts: 150g, thinly sliced. Fresh, tightly packed sprouts are best.
    • Golden Raisins: 1/4 cup (about 40g). Look for plump, golden raisins.
    • Goat Cheese: 100g, crumbled. Choose fresh, creamy goat cheese.
    • Cashews: 1/2 cup (about 75g), roughly chopped. Raw or roasted, your choice.
    • Spinach: 100g baby spinach. Fresh, crisp leaves are ideal.
    • Garlic Tahini Dressing: Blend 1/4 cup tahini, 2 tablespoons apple cider vinegar, juice of 1 lemon, 1 tablespoon tamari, 1 tablespoon nutritional yeast, and 1 clove garlic, minced.

    Step-by-Step Instructions

    Ready to get cooking? Here’s how to bring this Beet Power Salad to life:

    1. Prepare the Quinoa

    Rinse 1 cup of quinoa under cold water to remove any bitterness. In a medium saucepan, combine quinoa with 2 cups of water and a pinch of salt. Bring to a boil, then reduce heat to low, cover, and simmer for about 15 minutes, or until the water is absorbed and the quinoa is fluffy. Remove from heat and let it cool.

    2. Roast the Beets

    Preheat your oven to 200°C (400°F). Wrap each beet in aluminum foil and place them on a baking sheet. Roast for 45-60 minutes, or until they are tender when pierced with a fork. Allow them to cool, then peel and cut into small cubes.

    3. Prepare the Vegetables

    While the beets are roasting, shred the carrots and thinly slice the Brussels sprouts. Set them aside in separate bowls.

    4. Make the Dressing

    In a blender, combine 1/4 cup tahini, 2 tablespoons apple cider vinegar, the juice of 1 lemon, 1 tablespoon tamari, 1 tablespoon nutritional yeast, and 1 clove of minced garlic. Blend until smooth and creamy. Adjust the seasoning with salt and pepper to taste.

    5. Assemble the Salad

    In a large bowl, combine the cooked quinoa, roasted beet cubes, shredded carrots, sliced Brussels sprouts, golden raisins, and baby spinach. Toss with the dressing until everything is well coated.

    6. Add the Finishing Touches

    Sprinkle the crumbled goat cheese and chopped cashews over the salad. Gently toss to combine. Serve immediately or store in the fridge for later.

    Common Mistakes to Avoid

    • Overcooking Quinoa: Quinoa should be fluffy, not mushy. Make sure to simmer it just until the water is absorbed.
    • Undercooked Beets: Be sure to roast the beets until they are fork-tender to bring out their natural sweetness.
    • Soggy Salad: Avoid adding too much dressing at once. Start with half and add more as needed.
    • Skipping the Rinse: Rinsing quinoa is crucial to remove its natural coating, which can be bitter.

    How to Store & Reheat

    Store any leftover salad in an airtight container in the refrigerator for up to 3 days. If you plan to store it longer, keep the dressing separate and add it just before serving to prevent sogginess. To reheat, simply bring it to room temperature or give it a quick toss in a hot pan to warm through.

    Ingredient Substitutions

    • Quinoa: Swap with couscous or bulgur for a different texture.
    • Goat Cheese: Use feta or omit for a dairy-free version.
    • Cashews: Substitute with almonds or walnuts for a similar crunch.
    • Spinach: Kale or arugula can be used as alternatives.

    Nutrition Facts

    • Calories: 379 kcal (per serving)
    • Protein: 19g
    • Fat: 22g
    • Carbohydrates: 36g
    • Serving Size: 1 large salad

    Frequently Asked Questions

    • Can I prepare this salad ahead of time? Absolutely! It’s perfect for meal prep. Just keep the dressing separate until you’re ready to eat.
    • Is this salad suitable for vegans? Yes, simply omit the goat cheese or replace it with a vegan alternative.
    • How do I make the salad more filling? Add grilled chicken or chickpeas for extra protein.
    • Can I use canned beets? Yes, but fresh roasted beets offer the best flavor and texture.
    • What’s the best way to shred carrots? A box grater or food processor works great for quick shredding.