Tag: Almond

  • Brain Fuel: Almond Butter Bliss

    Brain Fuel: Almond Butter Bliss

    Introduction & My Personal Story

    There’s something truly magical about the comforting aroma of roasted almonds wafting through the kitchen. It takes me back to my childhood, sitting at the kitchen counter, watching my grandmother meticulously prepare her famous almond butter. She always said it was her secret weapon for staying sharp and energetic throughout the day. As I grew older and embarked on my culinary journey, I realized just how right she was. Almond butter isn’t just delicious; it’s a powerhouse of nutrients that fuels both body and mind.

    In my 5 years of experience as a chef, I’ve experimented with countless variations of almond butter, but nothing quite compares to the pure, unadulterated bliss of homemade. It’s a simple process, yet incredibly rewarding. Each batch holds a special place in my heart, much like the fond memories of those afternoons with my grandmother. Today, I’m excited to share with you my perfected recipe for Almond Butter Bliss—a true brain fuel that will elevate your daily routine.

    Why You’ll Love This Recipe

    • **Superior Flavor**: Homemade almond butter offers a rich, nutty taste that store-bought versions simply can’t match.
    • **One Ingredient Wonder**: Made with just raw almonds, it’s as pure as it gets.
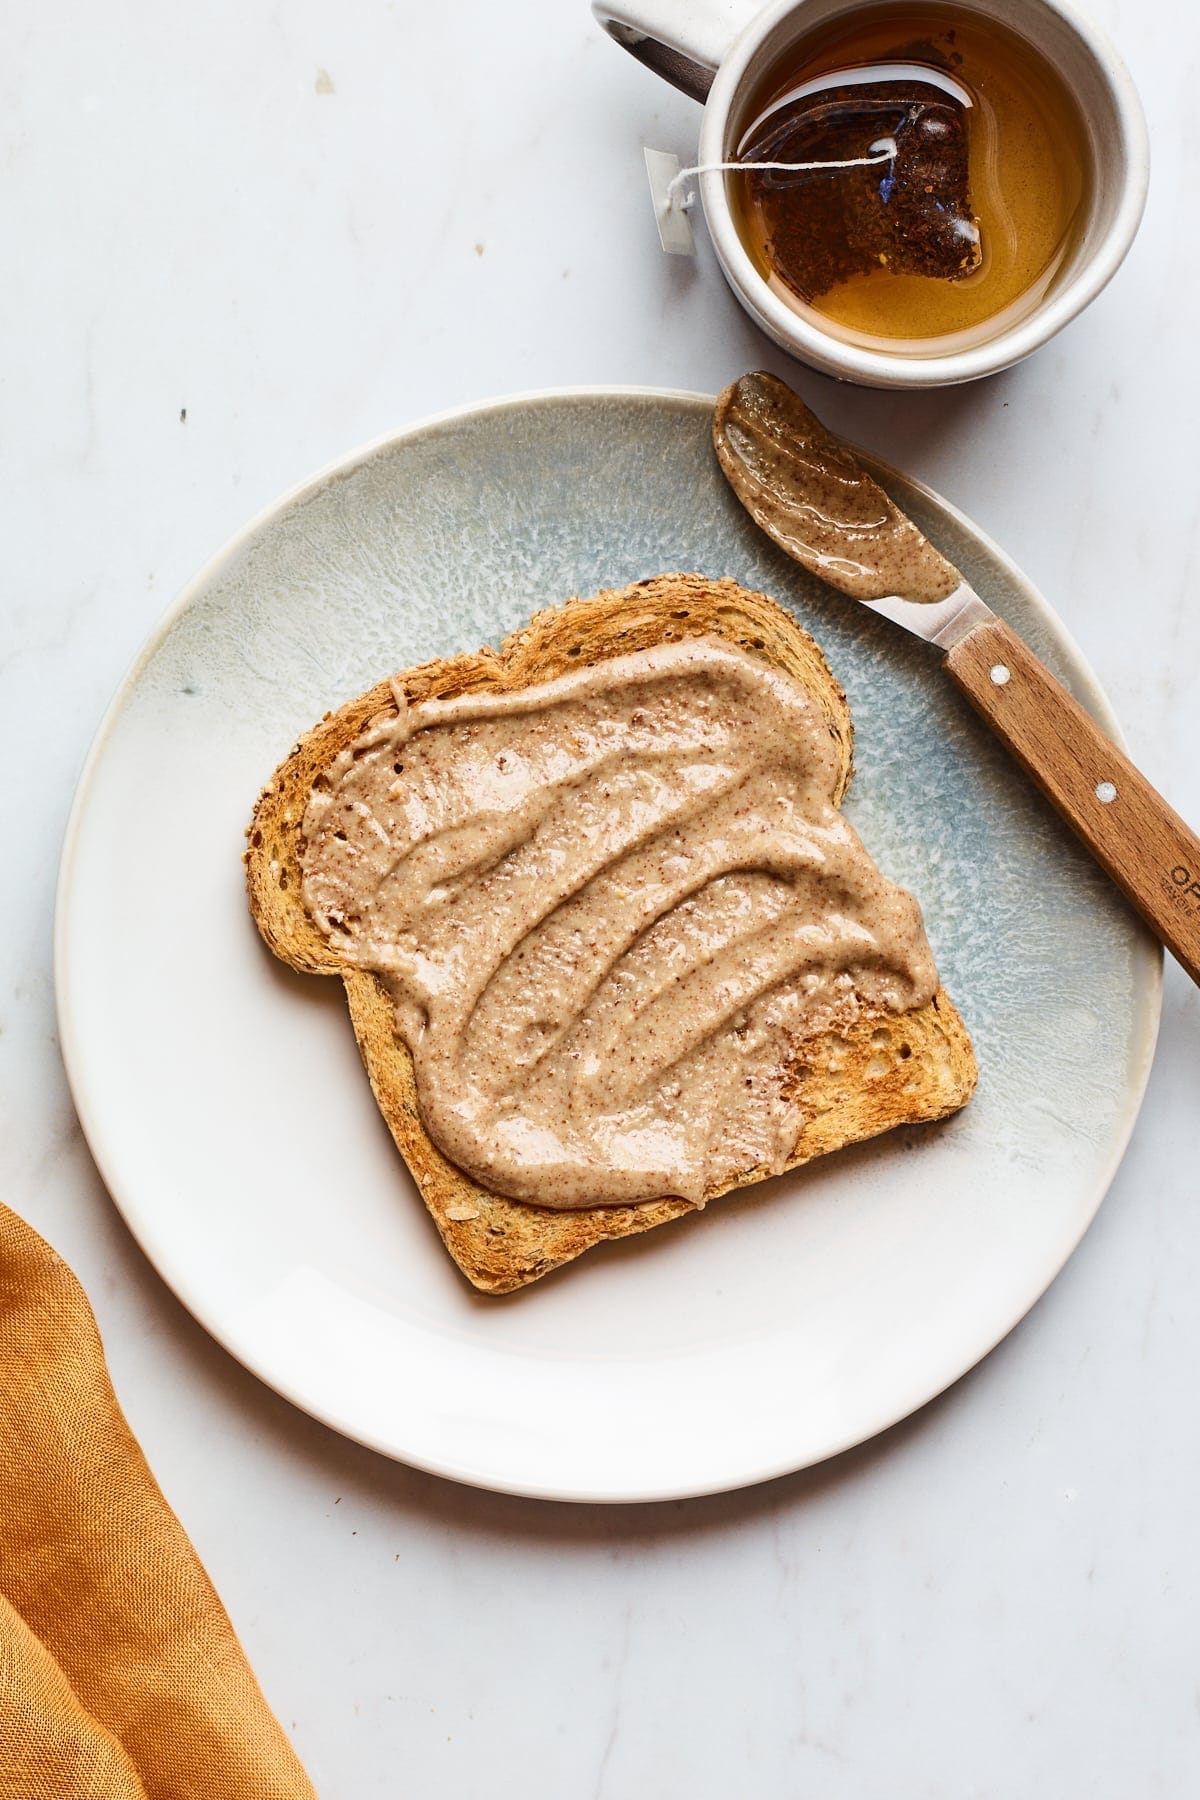
    • **Versatile Uses**: Perfect for spreading on toast, blending into smoothies, or even baking.
    • **Nutrient-Packed**: High in healthy fats, protein, and essential vitamins.
    • **Customizable**: Adjust the texture and flavors to suit your preferences.

    Detailed Ingredients

    To create your own Almond Butter Bliss, you’ll need the following ingredients:

    • Raw Almonds: 4 cups (approximately 600 grams). Look for fresh, high-quality almonds with a uniform color and no visible blemishes.
    • Neutral Oil: Optional, 1-2 teaspoons (e.g., avocado oil or coconut oil) for achieving the desired smoothness.
    • Optional Add-ins: Maple syrup, honey, cinnamon, vanilla extract, or cocoa powder for added flavor.

    Step-by-Step Instructions

    Let’s dive into the step-by-step process of making Almond Butter Bliss:

    Step 1: Preheat and Roast

    Begin by preheating your oven to 350°F (175°C). Spread the raw almonds evenly on a baking sheet. Roast them for 8-10 minutes, keeping a close eye to ensure they don’t burn. You’ll know they’re ready when they turn a light golden brown and emit a warm, nutty aroma. Allow them to cool to room temperature before moving to the next step.

    Step 2: Process the Almonds

    Transfer the cooled almonds to a food processor fitted with the S blade. Process the almonds for 15-25 minutes. Initially, the almonds will break down into a coarse meal. As you continue, they’ll form a ball, and eventually, a smooth almond butter will emerge. Stop periodically to scrape down the sides of the processor to ensure even blending. Patience is key here!

    Step 3: Adjust Texture with Oil

    If after 20 minutes your almond butter is still grainy, add 1 teaspoon of neutral oil at a time until you achieve the creamy texture you desire. Remember, the goal is a silky smooth consistency that spreads easily.

    Step 4: Blender Alternative

    If you have a high-powered blender like a Vitamix, you can achieve the same results with less processing time. Blend the full 4 cups of almonds, adding oil as needed, until smooth. This method is quicker but requires a powerful blender to handle the task.

    Common Mistakes to Avoid

    Making almond butter is straightforward, but there are a few pitfalls to watch out for:

    • Over-Roasting: Be cautious not to roast the almonds too long, as burnt almonds will result in a bitter butter.
    • Impatience: Processing time can vary. Don’t rush the process; let the almonds blend until smooth.
    • Adding Oil Prematurely: Only add oil if necessary, as almonds naturally release their own oils.

    How to Store & Reheat

    To keep your Almond Butter Bliss fresh and ready to use:

    • Storage: Transfer the almond butter to an airtight container and store it in the refrigerator. It will last for up to two weeks.
    • Reheating: If your almond butter becomes too firm in the fridge, let it sit at room temperature for a few minutes before using.

    Ingredient Substitutions

    Here are some safe substitutions if you’re looking to tweak the recipe:

    • Raw Almonds: You can use roasted almonds, but reduce the roasting time to avoid overcooking.
    • Neutral Oil: Substitute with any mild-flavored oil, such as grapeseed or light olive oil.
    • Flavor Add-ins: Experiment with different spices or sweeteners to suit your taste.

    Nutrition Facts

    Here’s a breakdown of the nutrition per 2-tablespoon serving:

    • Calories: 106 kcal
    • Protein: 3g
    • Fat: 9g
    • Carbs: 4g
    • Serving Size: 2 tablespoons

    Frequently Asked Questions

    • Can I use a blender instead of a food processor? Yes, but ensure it’s a high-powered blender to handle the dense almonds.
    • How can I make the almond butter sweeter? Add a teaspoon of maple syrup or honey during processing.
    • Is it necessary to add oil? Not always. Almonds release their own oils, but a small amount can help achieve a smoother texture.
    • Can I freeze almond butter? Yes, it can be frozen for up to 3 months. Thaw it in the refrigerator before use.
    • What if my almond butter is too thick? Gradually add oil, one teaspoon at a time, until the desired consistency is reached.

  • Fast Fuel: Almond Croissant Baked Oatmeal Delight!

    Fast Fuel: Almond Croissant Baked Oatmeal Delight!

    Introduction & My Personal Story

    Ah, the Almond Croissant Baked Oatmeal Delight. Just the name brings back a flood of warm memories from my childhood. I remember waking up to the smell of freshly baked croissants wafting through the house every Sunday morning. My mother, a culinary enthusiast, would bake these luscious almond croissants that were the highlight of our weekend brunches. They were buttery, flaky, and filled with a rich almond paste that made each bite a sheer delight.

    Fast forward to my years in culinary school, I yearned to recreate that nostalgic flavor but with a twist. That’s when I stumbled upon the idea of combining the essence of those croissants with the heartiness of baked oatmeal. The result? A dish that not only pays homage to my childhood but also caters to my busy lifestyle today. This Almond Croissant Baked Oatmeal Delight is everything you want in a breakfast—nutritious, filling, and incredibly satisfying. In my 5 years of experience as a chef, this recipe has become a staple not just in my kitchen, but also a favorite among my readers who crave a quick yet indulgent breakfast.

    Why You’ll Love This Recipe

    • Quick and Easy: Ready in under an hour with minimal prep.
    • Nutritious: Packed with healthy oats and almonds.
    • Indulgent Flavor: Captures the essence of an almond croissant.
    • Versatile: Perfect for breakfast, brunch, or dessert.
    • Make-Ahead: Stores well for a grab-and-go meal.

    Detailed Ingredients

    • 2 cups (160g) of rolled oats
    • 2 cups (480ml) of almond milk
    • 1/2 cup (120g) of almond paste
    • 1/4 cup (60ml) of maple syrup
    • 1/4 cup (30g) of sliced almonds
    • 1 teaspoon (5ml) of vanilla extract
    • 1/2 teaspoon (2.5g) of baking powder
    • 1/4 teaspoon (1.25g) of salt
    • 1/4 cup (30g) of dark chocolate chips (optional)

    When shopping, look for fresh, unsweetened almond paste and high-quality maple syrup to enhance the flavor of your dish.

    Step-by-Step Instructions

    Step 1: Preheat Your Oven
    Preheat your oven to 350°F (175°C). This ensures that your oatmeal bakes evenly, resulting in a perfectly cooked dish.

    Step 2: Mix the Dry Ingredients
    In a large mixing bowl, combine the rolled oats, baking powder, and salt. Stir well to ensure that the baking powder is evenly distributed, which will help the oatmeal rise slightly and give it a nice texture.

    Step 3: Prepare the Wet Mixture
    In another bowl, whisk together the almond milk, almond paste, maple syrup, and vanilla extract. Make sure the almond paste is fully dissolved to prevent clumps in your oatmeal.

    Step 4: Combine and Add Toppings
    Pour the wet mixture into the dry ingredients, stirring until everything is well combined. Transfer the mixture into a greased baking dish. Sprinkle the sliced almonds and chocolate chips on top for added flavor and texture.

    Step 5: Bake
    Place the baking dish in the oven and bake for 30-35 minutes or until the top is golden brown and the oatmeal is set. A toothpick inserted in the center should come out mostly clean.

    Chef’s Tip: Let the oatmeal cool for a few minutes before serving. This allows the flavors to meld beautifully and makes it easier to cut into portions.

    Common Mistakes to Avoid

    Overmixing the Batter: Stir the ingredients until just combined to avoid a dense texture.

    Incorrect Oven Temperature: Always preheat your oven to ensure even cooking. An oven thermometer can be a handy tool.

    Skipping the Cooling Time: Allowing the oatmeal to cool slightly helps it firm up, making it easier to serve.

    How to Store & Reheat

    Store any leftovers in an airtight container in the refrigerator for up to 5 days. For longer storage, freeze portions in a freezer-safe container for up to 3 months. To reheat, warm in the oven at 350°F (175°C) for 10-15 minutes or microwave individual servings for 1-2 minutes.

    Ingredient Substitutions

    • Dairy-Free Option: Use coconut milk instead of almond milk.
    • Sugar-Free Option: Replace maple syrup with a sugar-free syrup or stevia.
    • Nuts Allergy: Substitute almond paste with sunflower seed butter and sliced almonds with pumpkin seeds.

    Nutrition Facts

    • Calories: 350 per serving
    • Protein: 8g
    • Fat: 15g
    • Carbohydrates: 45g
    • Serving Size: 1/6 of the baked oatmeal

    Frequently Asked Questions

    Can I use steel-cut oats instead of rolled oats?
    While steel-cut oats can be used, they require longer cooking times and a bit more liquid. Adjust accordingly if you choose to use them.

    Is it possible to make this recipe vegan?
    Yes, this recipe is already vegan if you use non-dairy milk and ensure your chocolate chips are dairy-free.

    How can I add more protein to this dish?
    Consider adding a scoop of protein powder to the wet ingredients or serving with a side of Greek yogurt.

    Can I prepare this the night before?
    Absolutely! Assemble the ingredients in the baking dish, cover, and refrigerate overnight. Bake in the morning as directed.